The first thing most homeowners get wrong about a hardwood flooring nailer is assuming the tool does all the thinking. It does not. A good hardwood flooring nailer drives fasteners at the right angle, but it cannot flatten a bad subfloor, fix a crooked starting wall, or stop you from installing the wrong board. I have watched more than one expensive floor get ruined by a homeowner who spent $300 on a tool and $0 on preparation.
The good news is that the right nailer makes a hardwood installation much more manageable. It protects the board edge, speeds up repetitive work, and creates a stronger-looking installation than face-nailing every plank by hand. The trick is matching the tool to the flooring, the subfloor, and the size of the job.
Choosing the Right Hardwood Flooring Nailer
For most solid hardwood floors between 5/8 and 3/4 inch thick, a pneumatic flooring nailer is the dependable choice. It uses compressed air to drive cleats or staples through the tongue of each board. You strike the tool's plunger with a rubber mallet, and the nailer sets the fastener without leaving a visible hole in the face of the flooring.
Bostitch, Freeman, NuMax, and Powernail all make tools commonly found at rental centers and home improvement stores. I have used Powernail equipment on plenty of production jobs, but a rented Bostitch or Freeman unit can do a perfectly respectable job for one room. Expect to pay roughly $35 to $60 per day for a rental, with weekly rates often landing between $100 and $180. Buying a basic tool usually costs $180 to $450, while professional models can go beyond $700.
Check the fastener size before you load the magazine. A 3/4-inch solid oak floor commonly takes 1-1/2 or 2-inch cleats, but the manufacturer's installation instructions win that argument. Too-short fasteners will not hold properly. Too-long fasteners can punch through the subfloor or hit wiring and plumbing in an unfortunate location.
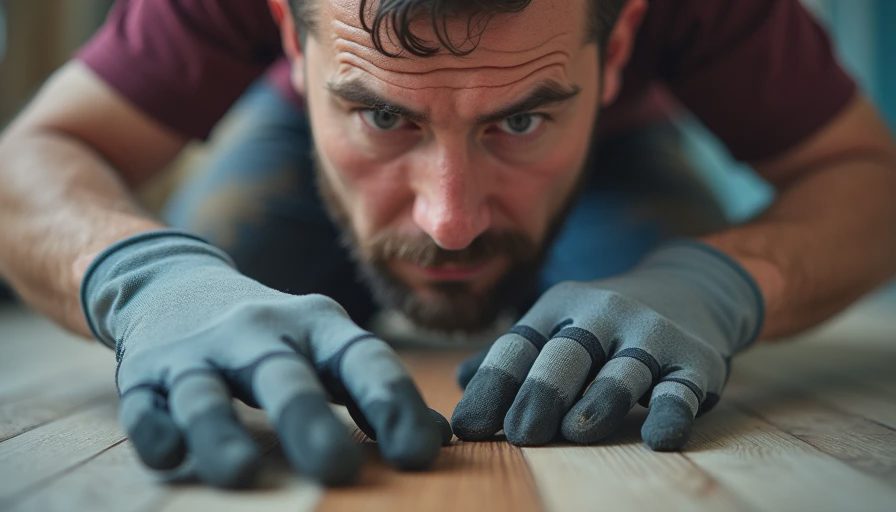
Cleats, Staples, and Engineered Flooring
A hardwood flooring nailer generally drives either cleats or staples. Cleats have a ribbed side and tend to allow a little more natural movement in the wood. Staples have two legs and can grip aggressively, which is useful on some products but can also increase the chance of squeaks or damaged tongues if the tool pressure is wrong.
For traditional solid oak, maple, or hickory, I usually lean toward cleats when the flooring manufacturer permits them. For engineered hardwood, the correct fastener depends on the product's thickness and construction. Some engineered boards are approved for stapling, while others are glued, floated, or fastened with a specific narrow cleat. Never assume a flooring nailer is automatically safe for engineered planks just because the tongue fits the tool.
A pneumatic tool also needs a compressor. You do not need a giant contractor compressor for one bedroom, but a small pancake compressor may run constantly and slow you down. Look for a unit that can maintain the nailer's recommended pressure while you work. A 50-foot air hose gives you room to move without dragging the compressor across finished flooring.
Prepare the Floor Before You Rent the Tool
Preparation is where the job is won. Remove baseboard carefully, mark the wall locations, and inspect the subfloor for loose panels, water damage, and high seams. Walk the room slowly. If it squeaks before installation, it will probably squeak afterward unless you address the movement with screws or other appropriate repairs.
Use a long straightedge to find high and low spots. Most flooring manufacturers allow only a small amount of variation over a specified distance, often around 3/16 inch over 10 feet, but follow the flooring instructions in front of you. Sand high plywood seams, secure loose areas, and patch low spots with a compatible underlayment-grade product. Do not bury a hump under expensive oak and hope the boards will negotiate.
Acclimate the flooring inside the installation area according to the manufacturer's instructions. The boards need time to adjust to the home's temperature and humidity. Stack them flat, keep packages supported, and avoid storing them in a damp garage. Hardwood moves. That is not a defect; it is wood doing wood things.
Plan the first and last rows before you fire up the compressor. Measure across the room and make sure the final row will not be an unusable sliver. If it would be too narrow, rip the first row so both sides look intentional. Leave the required expansion gap at walls and fixed objects. The baseboard or shoe molding hides the gap, not wishful thinking.
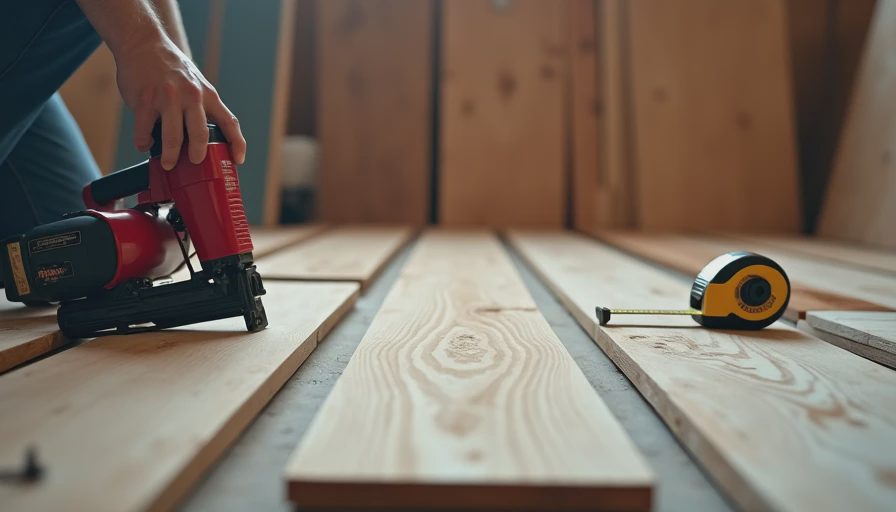
Using the Nailer Without Wrecking the Boards
Start with a few rows that you can face-nail near the wall because the flooring nailer will not fit tightly into that space. Pre-drill those boards if needed, then set the plugs or cover the holes with molding. Once there is enough room, place the nailer firmly against the tongue-side edge and strike the plunger with a rubber mallet.
The hit should be deliberate, not an attempt to win a demolition contest. If the fastener is proud, the air pressure or tool setting may be wrong. If the tongue splits, the pressure may be too high, the fastener may be incorrect, or the board may not be seated properly. Stop and fix the cause. Continuing for another 200 square feet only creates a larger repair bill.
Stagger end joints according to the flooring instructions, and keep joints away from obvious repeating patterns. Pull boards tight with a tapping block, but do not hammer directly on the tongue. Inspect every few rows from standing height. A floor can look straight on your knees and visibly drift when viewed from the doorway.
Near the opposite wall, the tool will stop fitting again. Use a finish nailer or pre-drill and face-nail the remaining rows, keeping fasteners close enough to be covered by the trim. Cut door casings so the flooring can slide underneath instead of making awkward cuts around them. That small detail is what separates a clean installation from a weekend project that announces itself.
What the Project Really Costs
Renting a hardwood flooring nailer may cost $50, but the complete tool package is usually closer to $100 to $175 after adding a compressor, hose, mallet, tapping block, pull bar, spacers, and replacement fasteners. For a 300-square-foot room, fasteners may run $35 to $80, depending on the brand and length. Add underlayment, transition pieces, trim, delivery, and waste, and the savings over professional installation shrink faster than most homeowners expect.
A professional installation commonly adds several dollars per square foot for labor, with difficult layouts, stairs, furniture moving, and subfloor repairs increasing the price. Still, one failed room can erase those savings. I once lost money on a job where a crew rushed the layout and created a narrow final row throughout a hallway. The boards were fine; the planning was not.
When to Hire a Flooring Installer
Use a hardwood flooring nailer yourself when the room is square, the subfloor is sound, the flooring instructions are clear, and you have time to work carefully. A bedroom or simple living room is a reasonable first project. A whole-house installation with multiple transitions, stairs, curved walls, and old uneven subfloors is a different animal.
Hire a pro if the floor has moisture damage, questionable framing, extensive leveling needs, or valuable reclaimed boards. Ask for a written estimate that separates installation, subfloor repair, trim, transitions, and disposal. That makes the real comparison possible instead of comparing your tool rental with a contractor's complete finished price.
A hardwood flooring nailer is a useful tool, not a shortcut around craftsmanship. Prepare the surface, use the approved fastener, check your layout, and slow down when something feels wrong. Floors take a beating every day. Don't let them beat your budget too.
TL;DR: Rent the hardwood flooring nailer for a straightforward room, but spend your attention on subfloor prep and layout. Those are what keep a cheap tool rental from becoming an expensive redo.


Travellers Write
No letters yet — be the first traveller to write.