How to Attach Hardwood Floor to Concrete (Without a Nail Gun)
If you're standing in a basement with a pile of hardwood and a nail gun, stop. Concrete doesn't take staples, and the install method changes everything. Here's how to attach hardwood floor to concrete the right way, and why most DIY videos skip the step that costs you later.
Why concrete changes the plan
Solid hardwood expands and contracts with humidity. On a wood subfloor you can hide that under the baseboard; on concrete, every inch of movement is your enemy. You have three workable ways: full glue-down, floating, or a sleeper system. Each one changes your cost, your floor height, and the way the floor feels underfoot. If you're holding engineered hardwood, glue-down is the workhorse. For click-lock planks, floating is simpler. Let me show you how to attach hardwood floor to concrete with each method.
Glue-down: the standard for a reason
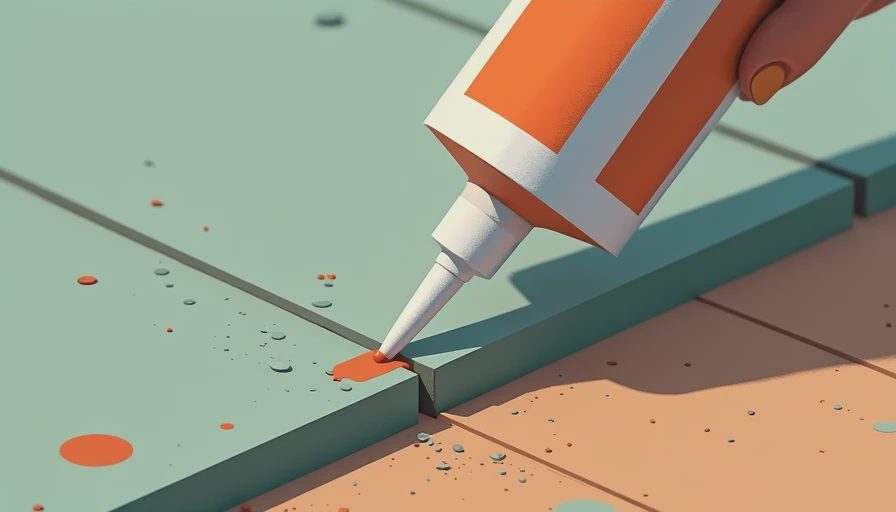
With glue-down, spread adhesive with a trowel, set each board, and run a weighted roller. First, do a moisture test. Tape a 2x2 foot piece of plastic to the concrete overnight. If water beads underneath, you have vapor drive. That determines how to attach hardwood floor to concrete without the adhesive failing. On a wet slab, use a moisture-rated adhesive like Bostik's Best or Mapei Ultrabond. Skip the test and the planks can cup and debond within 18 months. Use a 1/4 x 3/16 V-notch trowel for 5-inch engineered, a 1/2 x 1/2 square notch for wide plank. Spread only as much adhesive as you can cover in 20 minutes, then run a 100-pound roller. Adhesive runs $0.50 to $1.50 per square foot.
A plastic-sheet test only works if the slab is clean and the edges are sealed with tape. Leave it down for 24 hours. If the underside feels damp or shows beads, stop and call a pro who tests with a calcium chloride kit. A wet slab can ruin any wood floor, no matter how the planks are attached.
Floating engineered floors: the DIY favorite
If you're using click-lock 1/2-inch engineered hardwood, floating is the easiest way to attach hardwood floor to concrete without glue or nails. Lay an underlayment pad, click the boards together, and let the floor sit as one sheet. It expands and contracts as a unit. This is the method I recommend for most weekend DIYers, especially in basements. The catch is flatness. Concrete with a 1/4-inch rise over eight feet will make the floor feel spongy and the clicks can work loose. Use a 10-foot straightedge, mark low spots, and fill them with leveling compound. Don't float solid 3/4-inch hardwood; it moves too much and the lock systems aren't built for slabs.
Sleeper systems: when you really want solid hardwood
The old-school method for how to attach hardwood floor to concrete with solid hardwood is the sleeper system. Sleepers are plywood or treated lumber strips laid on the slab, shimmed level, then covered with subfloor. You nail solid hardwood into that. It feels solid but raises the floor 1.5 to 2 inches, killing headroom in a basement. Materials and labor for the sleepers run $3 to $6 per square foot before the hardwood goes down. On a 600-square-foot room, that's $1,800 to $3,600 just for the system underneath. I tell clients to skip it unless they're matching existing solid hardwood.
What this costs installed
What does it cost installed? Glue-down engineered hardwood runs $6 to $12 per square foot installed. Floating engineered runs $4 to $9 for a serious DIY, or $8 to $13 hired out. Sleeper systems with solid hardwood land at $15 to $20 per square foot because of prep labor. In my basement, 1,200 square feet of glue-down hickory cost about $5,200 for wood and adhesive; I did the labor. A friend's same-size floating floor ran $4,800 installed. The real gap is prep, not wood.
Tools and materials for the job
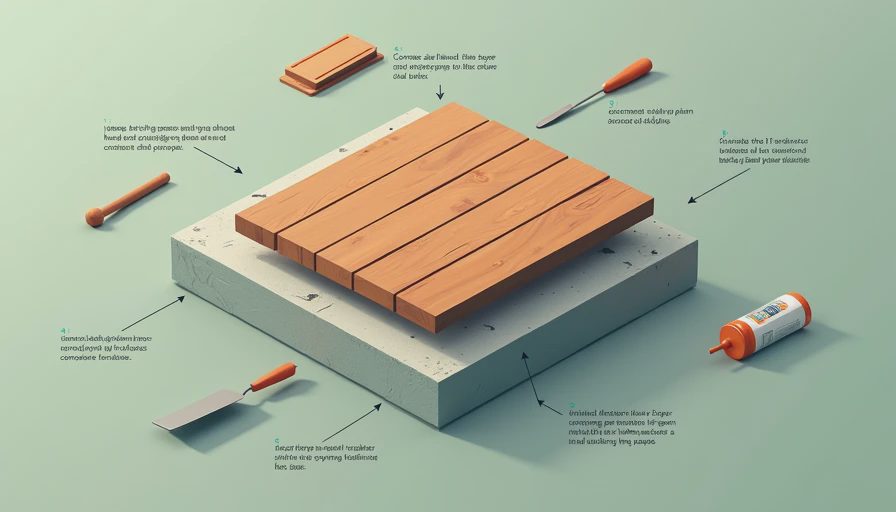
For a glue-down job, you'll need a notched trowel, a 100-pound roller, a moisture meter, and a chalk line. For floating, you need a tapping block, pull bar, underlayment, and spacers. For sleepers, add a circular saw, construction adhesive, shims, and a compressor with a flooring nailer. Most homeowners already own half of this. Rent the roller and the nailer from Home Depot or a local rental yard. A 100-pound roller rents for $40 to $60 a day. A flooring nailer rents for $35 to $75. Add $50 for adhesive, screws, and underlayment odds and ends. If you're doing a 500-square-foot room, the rental side costs under $200. That's still less than the markup on a "free installation" quote.
The one tool people forget is a moisture meter. A pinless model costs $30 to $80 and pays for itself the first time it catches a damp slab. Pinless meters give you an instant read across the floor. I've torn up floors that passed the plastic test but failed the meter test.
The prep nobody talks about
Whatever method you choose, check moisture before anything. New concrete needs four to six weeks to cure. Old concrete still needs a plastic-sheet test because vapor drive can appear years later. Fill low spots with leveling compound, grind down high spots, and sweep. Most hardwood failures over concrete aren't because the homeowner picked the wrong method; they're because the slab was wet, uneven, or dirty. Take the extra weekend to prep. If you do, you can confidently attach hardwood floor to concrete in a way that lasts.
TL;DR: For a dependable DIY project, float a click-lock engineered floor. For solid hardwood over a slab, glue it down with a moisture-rated adhesive and a flat subfloor. If a contractor says a sleeper system is your only option, ask why. Concrete doesn't hate hardwood. It just demands a little respect. Floors take a beating every day. Don't let them beat your budget too.


Travellers Write
No letters yet — be the first traveller to write.