The first thing most homeowners get wrong about underlayment for vinyl plank flooring is assuming every installation needs a roll of foam underneath it. That advice sells material, but it does not always produce a better floor. Some luxury vinyl planks already include an attached pad. Others are designed to go directly over a properly prepared subfloor. Adding another layer can actually create movement, noise, or a failed click-lock joint.
The right answer starts with the product instructions and ends with the condition of the floor underneath. I have installed plenty of LVP over concrete, plywood, old vinyl, and questionable basement slabs. The floor never cares what the sales sign promised. It cares whether the base is flat, dry, clean, and solid.
What underlayment actually does
Underlayment is a thin layer installed between the structural subfloor and the finished flooring. Depending on the product, it can reduce minor sound, provide a moisture barrier, add a little cushioning, and make installation more comfortable underfoot. It does not fix a soft subfloor, level a hump, or rescue a plank system installed over loose debris.
For vinyl plank, underlayment is usually made from thin foam, closed-cell polyethylene, cork, or a combination of foam and vapor-control film. Foam is inexpensive, often costing about 15 to 35 cents per square foot. Premium acoustic products can run 50 cents to more than $1 per square foot. That can add $150 to $500 on a typical 1,000-square-foot project before labor and waste.
Here is the part people skip: underlayment is not the same thing as floor preparation. If a plywood seam stands proud by an eighth of an inch, a soft pad will not make it disappear. It will compress under foot traffic, leaving a visible ridge and putting stress on the plank joints. I have seen a brand-new kitchen floor start separating at the seams within a year because someone tried to use padding instead of correcting the subfloor.
When you need underlayment for vinyl plank flooring
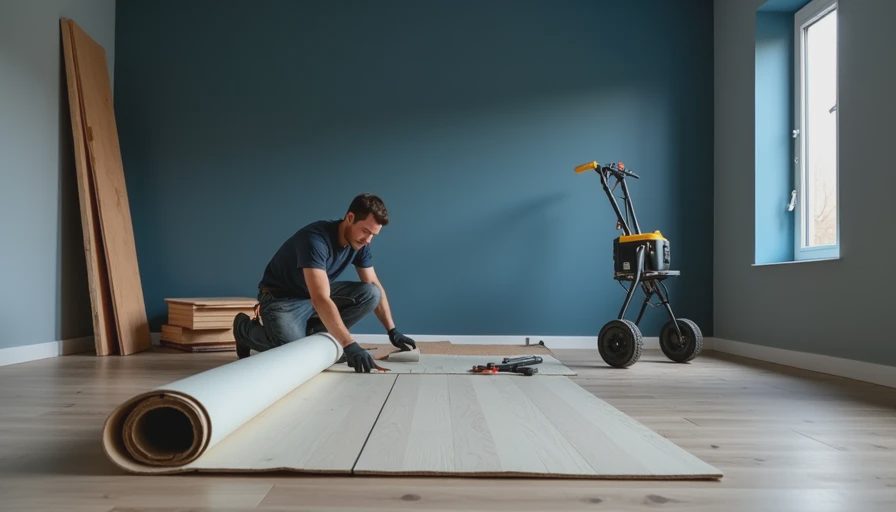
You may need underlayment for vinyl plank flooring when the manufacturer specifically requires it, when the product has no attached pad, or when the installation conditions call for a separate moisture-control layer. Concrete slabs are the common example. A basement slab can look dry on installation day and still release vapor over time, especially during wet spring weather. A compatible vapor barrier can protect the flooring, but it must be approved for that product and installed with sealed seams when required.
Sound control is another legitimate reason. In a second-floor bedroom or condo, a quality acoustic underlayment can reduce the sharp tapping noise caused by shoes, pet claws, and toy cars. It will not make vinyl silent, but it can take the edge off. Cork and dense acoustic mats generally perform better than the cheapest blue foam, though they cost more and can change the feel of the floor.
A separate layer can also help over a smooth, hard existing surface when the flooring manufacturer allows it. Old sheet vinyl that is firmly bonded and free of asbestos concerns may provide a decent base. The surface still has to be clean, flat, and intact. Do not cover curling edges, soft spots, or loose adhesive and call the job finished.
When to skip the extra layer
Skip separate underlayment when the planks have an attached pad and the installation instructions say not to add one. Many products from brands such as Lifeproof, COREtec, and Shaw include a backing intended to be the complete cushioning layer. Adding foam underneath can make the floor too flexible. Click-lock edges then move every time someone walks across them, and those tiny movements can wear out the locking profile.
I made this mistake early in my contracting years on a basement renovation. The homeowner had bought a plank with attached padding, and I accepted a second foam layer because it felt softer during installation. Six months later, several joints opened near the hallway. The material was not defective; the floor had too much give. I lost money removing and reinstalling it, which was a useful lesson at the homeowner's expense.
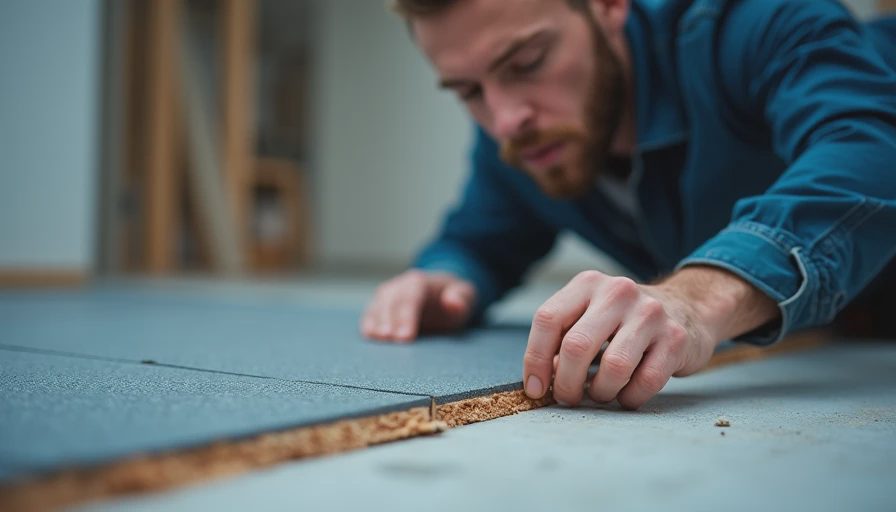
Do not use underlayment to solve an uneven floor. Most vinyl plank manufacturers allow only a small amount of variation over a six- to ten-foot span, often around 3/16 inch, but the exact limit is product-specific. Check with a long straightedge rather than your eyes. If the straightedge rocks, mark the gaps. High spots may need grinding or sanding, while low areas may need a cement-based patch or leveling compound.
Choosing the right material for the room
For a dry, above-grade room, a thin approved foam may be all you need if the planks do not already have a pad. In a basement, look for a product rated for concrete and moisture management. A vapor barrier is useful only when it is part of a compatible system; trapping moisture between unsuitable layers can create odor, adhesive problems, or mold-friendly conditions around organic debris.
Cork can make a room feel warmer and reduce some impact noise, but it is not my first choice for a damp basement. Dense foam is easier to handle and usually less expensive. Acoustic rubber products perform well under bedrooms and offices but can add several hundred dollars to a whole-house installation. Spend that money where sound matters instead of automatically putting premium material under every plank.
Never install carpet pad, thick laminate foam, or a soft craft foam beneath vinyl plank. Those products compress too much. The floor may feel luxurious for a week, then develop movement, gaps, and a hollow sound. Underlayment for vinyl plank flooring should be thin, dense, and specifically approved for resilient flooring.
The installation steps that matter most
Start by removing baseboards and inspecting the subfloor. Vacuum thoroughly, scrape paint or drywall chunks, and remove loose fasteners. Set a long straightedge in several directions. Mark every hump and dip before buying material, because preparation often costs more time than laying the planks.
On plywood, screw down squeaky areas and replace water-damaged sections. On concrete, test for moisture according to the flooring manufacturer's method, then repair cracks and fill shallow imperfections with the right patching compound. Let repairs cure fully. A damp slab covered too soon is not a shortcut; it is a delayed problem.
Roll out the approved material without overlapping it unless the instructions call for an overlap. Tape seams with the specified tape, keep the surface free of grit, and avoid bunching near walls. Leave the expansion gap required by the plank manufacturer, commonly around a quarter inch, and use proper transitions at doorways rather than pinning the floor tightly against another surface.
What the project should cost
For a 1,000-square-foot room, separate underlayment might cost $150 to $1,000 depending on the type. Basic installation labor commonly adds roughly $2 to $4 per square foot, while subfloor repair can add $1 to $5 per square foot when patching is needed. Full removal and replacement of a damaged plywood subfloor costs more, but it is cheaper than reinstalling a failed floor six months later.
The most economical approach is not always the cheapest roll on the shelf. If your planks already include a pad, spend the budget on floor preparation, moisture testing, and a better transition at the bathroom or exterior door. If the product requires a vapor barrier, buy the approved layer and install it correctly. Saving $200 on compatible material is a poor trade for replacing $4,000 worth of flooring.
Ask the installer to show you the product instructions before work begins. A trustworthy installer can explain why a layer is needed, where it will stop, and how the subfloor will be checked. If the answer is simply, “We always use it,” keep asking questions.
The bottom line
Underlayment for vinyl plank flooring is useful when the flooring allows it and the room needs moisture control, sound reduction, or a little approved cushioning. It is harmful when it is used to hide an uneven subfloor or stacked beneath planks that already have attached backing. Read the installation instructions, test the base, and put money into preparation before padding.
Floors take a beating every day. Don't let them beat your budget too. TL;DR: Use the right layer for the product and the room, not the layer someone is trying to sell you.


Travellers Write
No letters yet — be the first traveller to write.