The first thing homeowners get wrong about how to fix chipped tile is assuming every chip means the entire floor is finished. It usually does not. A small chip on ceramic or porcelain tile can often be repaired in an afternoon for $15 to $40, while replacing one tile can turn into a bigger job if the original box is long gone or the surrounding grout breaks during removal.
I have repaired plenty of chips that looked worse than they were. A dropped cast-iron pan, a hammer, a heavy chair, or one careless move with a vacuum can knock a corner out of a tile. The repair will not make damaged tile brand-new under a microscope, but done carefully, it can make the damage disappear from standing height. That is the standard I use in my own house.
Start by identifying the damage
Before learning how to fix chipped tile, figure out what actually broke. A surface glaze chip is the easiest repair. You will see a shallow spot where the colored finish is missing, but the body of the tile remains solid. A deeper chip exposes the pale clay or dense porcelain underneath. A crack running across the tile is a different problem altogether and usually calls for replacement.
Run a fingernail over the area. If the tile feels solid and the damage does not move, a color-matched epoxy or tile repair kit is reasonable. If the tile flexes, sounds hollow around a large area, or has cracks spreading from the chip, stop treating the symptom. Movement underneath can come from loose adhesive, a weak underlayment, or subfloor deflection. Filling that chip is like putting a Band-Aid on a loose stair tread.
Clean the spot with dish soap and water first. Remove grease, wax, and cleaning residue, then let it dry completely. Do not use a silicone caulk tube for this repair. It stays soft, attracts dirt, and leaves a shiny blob that announces itself every time the light hits it.
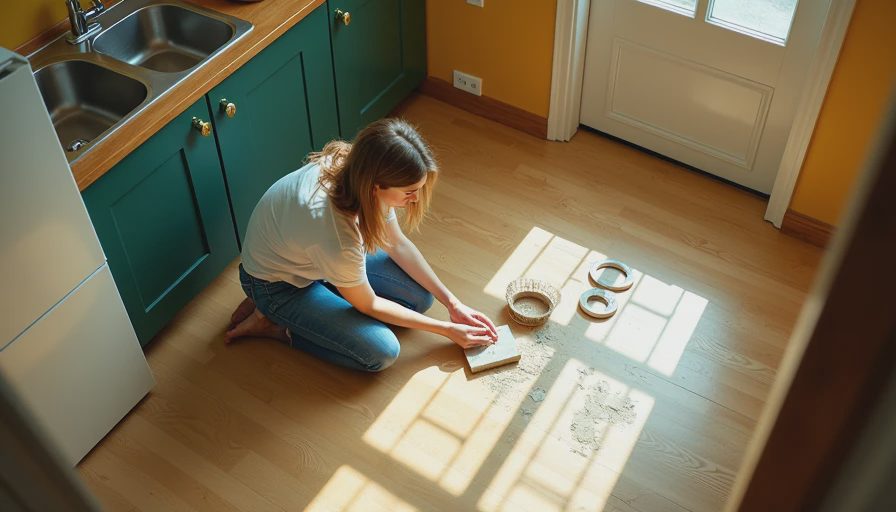
How to fix chipped tile with a repair kit
For a small chip, buy a two-part tile epoxy, porcelain touch-up kit, or appliance-style enamel made for the tile's surface. Kits from brands such as MagicEzy, CalFlor, and Sheffield can work for minor damage, though matching the color matters more than the logo on the package. Bring a sample, a clear photo in daylight, or the original tile information when shopping.
Mix only the amount you can apply in a few minutes. Most epoxy repair products begin thickening quickly. Use a toothpick, plastic razor, or artist's brush to push the filler into the missing spot. Slightly overfill the chip because epoxy shrinks or settles as it cures. Keep it off the surrounding glaze; wiping a thin smear across the tile often creates a larger visible mark than the original damage.
Let the filler cure for the time printed on the package. That might be several hours, but I prefer waiting overnight before washing the floor. Once hard, carefully shave a raised spot with a new razor held nearly flat. Do not sand aggressively on glossy tile. Sandpaper can leave a dull halo that is harder to hide than the chip itself.
Color matching is where most repairs fail
People search how to fix chipped tile and expect the filling step to be the hard part. It is not. Color matching is where the repair either disappears or looks like a tiny painted pebble. Tile is rarely one flat color. White tile may have warm cream, gray, or blue undertones, and stone-look porcelain often has several printed shades in one piece.
Start lighter than you think. A repair that looks slightly pale while wet may darken as it cures. Add a pinhead of brown, gray, or black tint rather than a large drop. Test the mixture on cardboard or an unseen edge first. If the tile has a pattern, recreate only the most visible line with a fine brush after the base color cures. Too much detail draws the eye directly to the repair.
For a floor tile in a busy kitchen, a good repair should blend at normal viewing distance. I would not promise invisible results on a bathroom wall under bright vanity lighting. Gloss, texture, and the angle of the chip all affect what the eye sees.
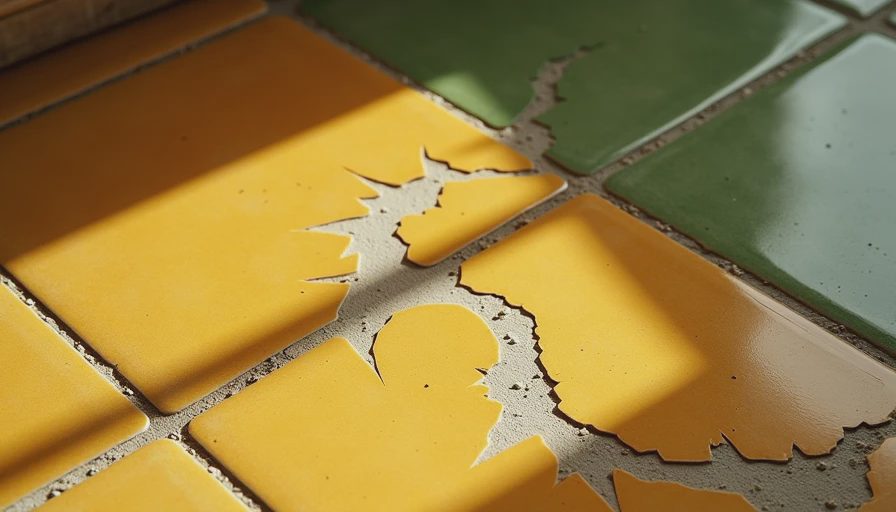
When replacing one tile is the better move
Learning how to fix chipped tile is useful, but filler is not the right answer for every situation. Replace the tile when the chip reaches an edge, a crack runs through the body, or water can get behind the surface in a wet area. A broken shower tile deserves more caution because the waterproofing system behind it matters. Do not start prying blindly if you are unsure whether the tile is part of a shower surround or waterproof panel system.
Replacement is also smarter when a large section is missing. A repair compound has limits, and a deep void near a doorway can catch shoes, mops, and chair legs. A matching replacement tile may cost $3 to $15, plus tools and grout. Hiring a tile professional for one difficult replacement commonly runs about $150 to $400 because the trip, setup, dust control, and cleanup cost more than the tile itself.
If you have spare tile, keep it. I recommend storing two or three pieces in a labeled box, not loose in the garage where they get broken or buried. Tile colors and sizes disappear from stores faster than homeowners expect.
How to fix chipped tile without causing more damage
The removal process is where a simple repair can become a Saturday-long mess. Protect nearby tile with painter's tape. Remove the grout around the damaged piece with a grout saw or oscillating tool, then drill several holes through the center using a carbide or diamond bit. Work from the middle outward and wear eye protection. Do not hammer toward the neighboring tiles.
Once the center is open, tap the remaining pieces inward with a cold chisel. Scrape away old thinset without gouging the backer board. Set the new tile with the same type of thinset recommended for the substrate, keep it flush with the surrounding floor, and match the existing grout joint. Premixed adhesive is convenient for some dry indoor repairs, but it is not a universal substitute for thinset, especially in wet locations.
Give the setting material time to cure before grouting. Wipe excess grout from the face while it is still workable, then seal the joint if the grout product calls for it. Rushing this part leaves a low tile, a smeared surface, or a joint that crumbles within months.
The honest cost decision
A chip repair makes sense when the damage is small, the tile is firmly bonded, and the floor is otherwise sound. Spend $20 on a kit and an hour of careful work before spending hundreds on a replacement visit. If you have six cracked tiles, loose grout, hollow sounds, or water damage, stop chasing individual defects. The floor is telling you about a larger installation problem.
On one kitchen job, a homeowner wanted every chip filled before listing the house. Three tiles were fine to repair, but five others had cracks caused by movement in the underlayment. We replaced the loose section instead of painting over it. That cost more upfront, but it prevented a buyer from finding the same problem during inspection and negotiating far more aggressively.
The practical answer to how to fix chipped tile is simple: clean it, fill it, color it carefully, and know when the substrate is the real culprit. Floors take a beating every day. Don't let them beat your budget too.
TL;DR: Repair a small, solid chip with color-matched epoxy; replace cracked or loose tile before a cheap fix becomes an expensive floor problem.


Travellers Write
No letters yet — be the first traveller to write.