The installation of engineered hardwood is where a lot of homeowners get sold on the shiny part and skip the ugly part. The display board looks great, the color is right, and the sales pitch sounds simple. Then the floor shows up at your house and suddenly somebody is talking about moisture, flatness, transitions, and whether the old subfloor is fit to hold a clean finish. That is the part that decides whether you get a floor you enjoy for 15 years or one you start cussing at in the first winter.
I have seen plenty of jobs where the material was fine but the prep was lazy. That is how you end up with squeaks, hollow spots, and door casings that look like they were trimmed by a blind carpenter. If you are budgeting a remodel, the trick is not chasing the cheapest box of boards. The trick is understanding what makes the job cost real money before a single plank gets fastened down.
What people miss before the first board goes down
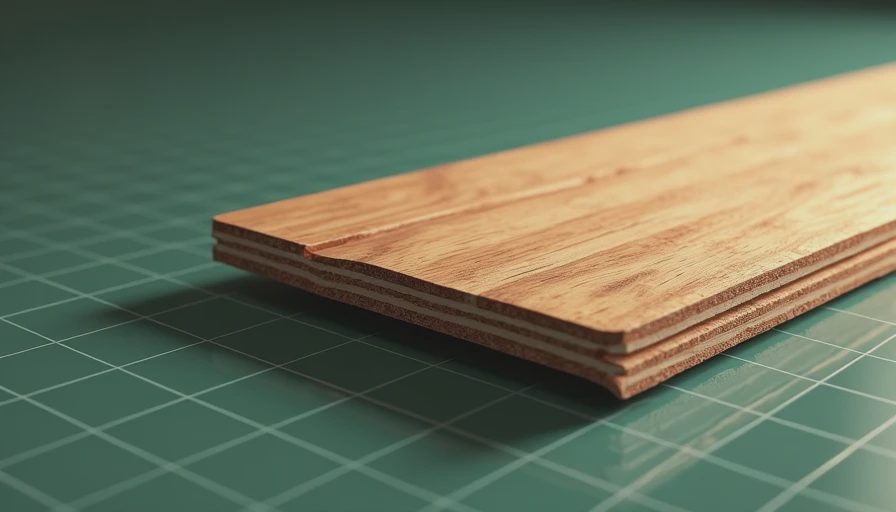
Engineered hardwood is not magic. It is still wood on top, just built with a plywood or fiberboard core so it handles movement better than solid hardwood. That does not mean it forgives a bad floor underneath. If the subfloor is wavy, wet, or full of old staples and glue, the new surface will telegraph the mess right through. I have been back to houses where the owner bought a decent product from Shaw, Mohawk, or Bruce and still ended up disappointed because nobody fixed the floor underneath.
The best jobs start with a straight answer about the existing structure. On a good day, that means sanding high spots, filling low ones, and pulling loose panels tight. On a bad day, it means replacing soft plywood, cutting out rotten OSB, or scraping old adhesive until your shoulders hate you. That is boring work, and it is where most of the budget goes. It is also the difference between a floor that feels solid under bare feet and one that sounds expensive in all the wrong ways.
What drives the installation of engineered hardwood cost
The material itself is only part of the bill. In a typical midrange home, I see engineered hardwood priced around $4 to $9 per square foot for the product, with labor often landing another $3 to $7 per square foot depending on the method and the prep. A simple straight lay over a clean plywood subfloor is one thing. A kitchen that needs leveling, a hallway with five doorways, and a stair nose package is another thing entirely. A 500-square-foot project can land anywhere from about $4,000 to $12,000 once you mix in labor, trim, and the real-world surprises that show up after demo.
For most installation of engineered hardwood jobs, the labor bill climbs when the house fights back. Old baseboards have to come off clean, door jambs need undercutting, and transitions to tile or carpet need proper reducers instead of those little hardware-store ramps that look like an afterthought. If you are comparing bids, ask what is included. One crew may quote just the floor. Another may include removal, hauling, underlayment, and trim work. That is not a small difference. It is the kind of difference that turns a bargain into a headache.
Nail-down, glue-down, and floating: pick the one that fits the house
The fastening method matters more than most people think. Nail-down works well over plywood and is common in main-level rooms where the subfloor is tight and dry. Glue-down can be the right call on concrete slabs or over approved underlayment, but it takes cleaner prep and better moisture control. Floating floors are faster and often cheaper to install, but they can feel a little less solid underfoot and are only right when the product and room conditions allow it.
I like to decide the method by looking at the house, not by guessing from the box. A dry basement apartment with a slab is not the same as a second-floor bedroom over joists. A floating install might save labor, but if the room is long and full of sun, expansion gaps and transitions become more important. The wrong method costs more to fix than it did to do right the first time. That is one of those lessons nobody wants to pay tuition for twice.
Subfloor prep is where the bill jumps
This is the part that surprises homeowners who expected a one-day job. Subfloor prep can be a couple hundred bucks or several thousand, and the reason is simple: the floor has to be flat enough to keep the boards locked together and the finish looking calm. If a room has dips, ridges, or old adhesive from carpet or vinyl, the installer has to correct it before the new floor goes in. Skipping that step is like painting over rust and calling it restoration.
Moisture is the other troublemaker. A damp basement, a fresh slab, or a kitchen that has seen a leak can ruin an otherwise decent floor. The installer should check the moisture in the wood or concrete and make sure the product is acclimated to the house before starting. That does not mean the job has to turn into a science fair, but it does mean the floor should not be rushed into place because the crew is booked for the next house on the list.
What a clean job looks like in a real house
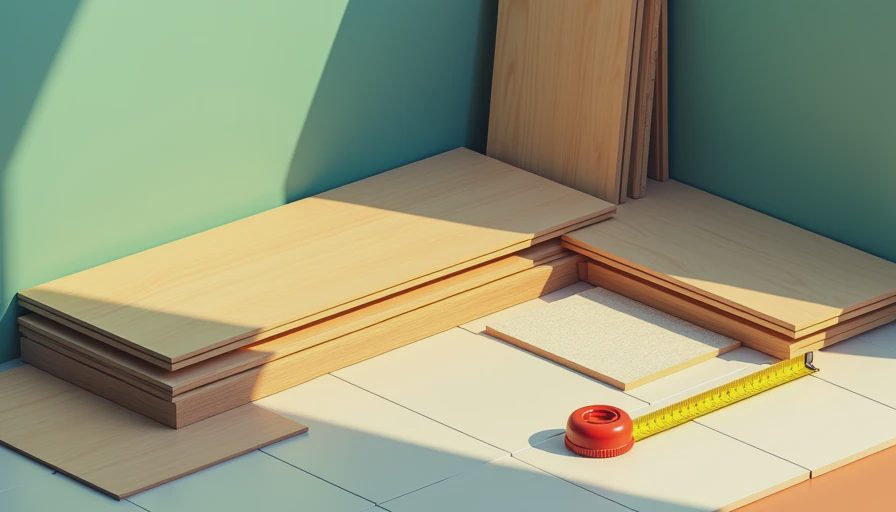
The cleanest installation of engineered hardwood starts with details most people never notice until they are wrong. Baseboards come off without tearing the drywall to pieces. Jambs get cut so the boards slide under instead of butting into them like a bad haircut. Hallways line up with the rooms they connect to. Transitions sit low and neat instead of tripping your foot every time you walk into the kitchen with a laundry basket.
I remember a 1,700-square-foot house where the homeowners wanted to keep the old trim to save money. We did it, but only after explaining that the reused trim would show every nail hole and paint chip once the new floor was down. They chose to replace the baseboards in the main rooms, and the place looked finished instead of patched together. That choice cost more up front, but it saved them from staring at little problems every day. That is the kind of money well spent most homeowners only appreciate after the dust is gone.
When I would call a pro instead of winging it
If you have one small bedroom, a clean plywood subfloor, and a straightforward layout, a handy homeowner can sometimes handle the work. Once the project gets into multiple rooms, stairs, slabs, or a house with obvious level issues, the math changes fast. The real danger is not the first board. It is the last 10 percent of the job, where bad cuts, sloppy transitions, and rushed trim work make the whole floor look cheap.
If you want the cleanest installation of engineered hardwood, get three bids and compare what the installer is actually doing, not just the square-foot price. Ask about prep, underlayment, trim, and haul-away. Ask how they handle moisture and what happens if the subfloor needs repair. The lowest bid is not always the best deal, and around here I have seen enough expensive mistakes to know that shortcut money usually comes back with interest. Floors take a beating every day. Don't let them beat your budget too.


Travellers Write
No letters yet — be the first traveller to write.