If you're planning to install hardwood floors yourself, you need the right hardwood floor installation tools. I've seen too many homeowners show up with a cheap nail gun and a borrowed saw, only to end up with gaps, squeaks, and a lot of wasted lumber. Over 18 years, I've learned which tools are worth buying and which you can skip. Here's the short list.
The Must-Have Tools for Hardwood Floor Installation
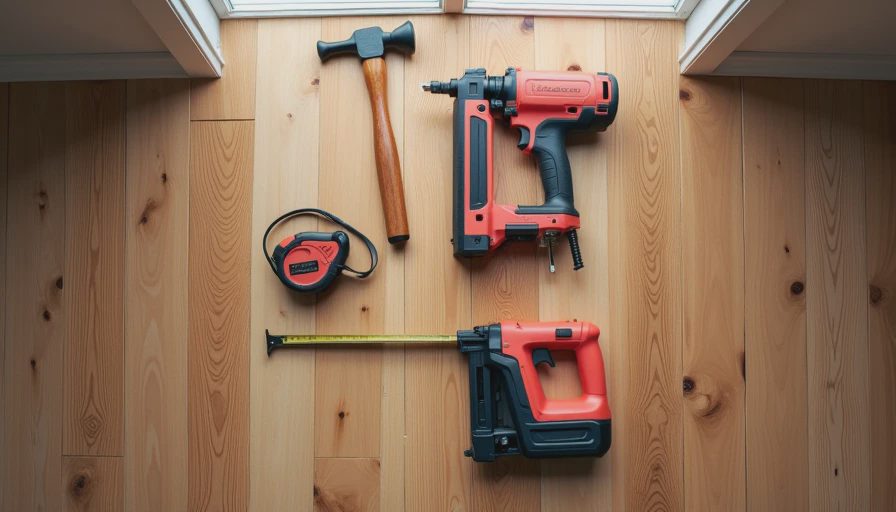
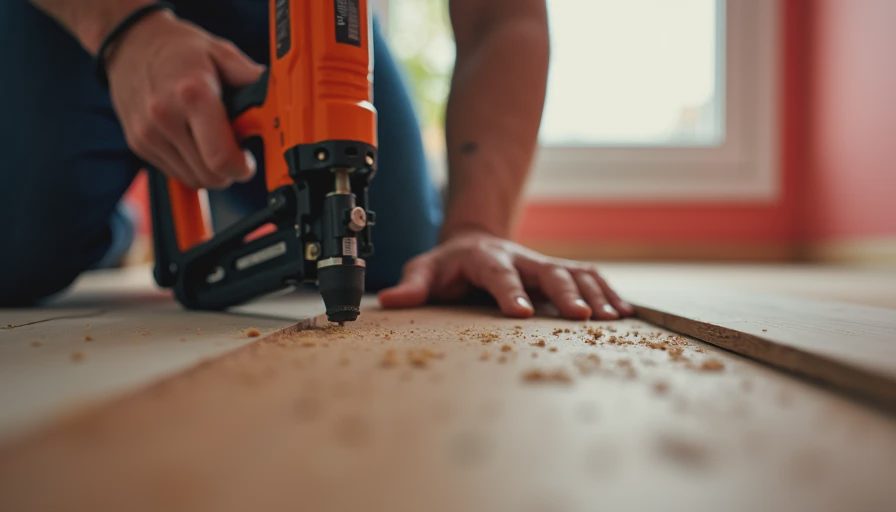
Let's start with the big one: a flooring nailer. You can't install solid hardwood without one. I recommend a pneumatic floor nailer like the Bostitch MIIIFN or the Primatech 900F. These run about $200 to $400 new. If you're only doing one room, rent one from Home Depot or Sunbelt Rentals for $40 a day. But if you've got a whole house or plan to help a friend, buy it. The cleats or staples you use matter too — always use 2-inch fasteners for 3/4-inch oak or maple.
Next up: a miter saw. A 10-inch sliding compound miter saw from Makita or Dewalt will handle most cuts. Expect to pay $300 to $500. Don't cheap out on a non-sliding saw; you'll need it for angled cuts around doorways and corners. I've used the same Makita LS1019 for eight years and it still cuts dead accurate. Also pick up a jamb saw (also called a door jamb saw) for cutting the bottom of door casings without damaging the frame. That's about $30 to $50.
You'll also need a tapping block and a pull bar. These help you snug boards together without denting the edges. A set runs $15 to $30. Add a hammer, but not a framing hammer — use a rubber mallet or a flooring hammer. For layout, get a chalk line, a tape measure (25-foot minimum), and a straightedge. Don't forget safety glasses and knee pads. Your knees will thank you after three hours on the floor.
Renting vs. Buying: What's Worth It?
For a single room, renting hardwood floor installation tools is smart. The nailer, jamb saw, and even a pneumatic stapler are all available at rental yards. But there are a few things you should buy. Your miter saw and compound saw are worth owning for future projects. Also buy your own moisture meter. You need to check both the subfloor and the wood before you start. A general-use pin meter like the General Tools MMD4E costs about $35. If the moisture difference between wood and subfloor is more than 2%, you're asking for trouble.
Another tool to buy: a good set of spacers. Plastic spacers in 1/4-inch and 1/2-inch sizes help you maintain consistent expansion gaps along walls. They're cheap — $5 for a bag. And pick up a pry bar or a floor removal tool in case you need to pull a board. The Bigfoot floor puller is expensive ($100), but it's saved me more than once when a board wouldn't close.
Three Pro Tips That Save You Time and Money
First, acclimate the wood. Stack it in the room where you're installing for at least 72 hours. Open the boxes, separate the planks, and let the wood adjust to the room's humidity. I've seen guys skip this and come back to bowed boards that won't lay flat.
Second, use the right fastener. For 3/4-inch solid hardwood, use 2-inch cleats or staples. For engineered wood (which is thinner), use 1-1/2-inch fasteners. And always test a piece on a scrap board before you start. That way you'll avoid blowout on your first row.
Third, plan your layout. Most rooms aren't square, so start with a straight line down the center of the room. Snap a chalk line and work out from there. This keeps your last row from being a weird narrow strip. Measure your room width and divide by board width to see if you need to rip the first row narrower to make the last row at least half a board wide.
Don't Forget the Miscellaneous Supplies
Beyond the major hardwood floor installation tools, you'll need a few odds and ends. Vapor barrier (6-mil polyethylene) if you're on concrete. A staple gun for the underlayment. A utility knife. A nail set and punch for countersinking nails. And wood glue for face-nailing blind spot areas. I always keep a quart of titebond III in my truck. It's waterproof and fills gaps if you have a tight spot.
One thing nobody tells you: buy extra boxes. I always order 10% more than my square footage. You'll have waste from cuts, and if you run short, the dye lot might not match. Trust me, I've had to make trips back to the store for one more box of red oak that didn't quite match.
The Bottom Line
You don't need every tool in the catalog to install hardwood floors. Start with a good nailer, a quality miter saw, and the basic hand tools. Rent anything you won't use again. And never, ever cheap out on the moisture meter. Floors take a beating every day. Don't let them beat your budget too.
TL;DR: Get the hardwood floor installation tools right, and the job goes smooth. Skimp on them, and you'll pay twice — once on the tools and again to fix your mistakes.
Travellers Write
No letters yet — be the first traveller to write.