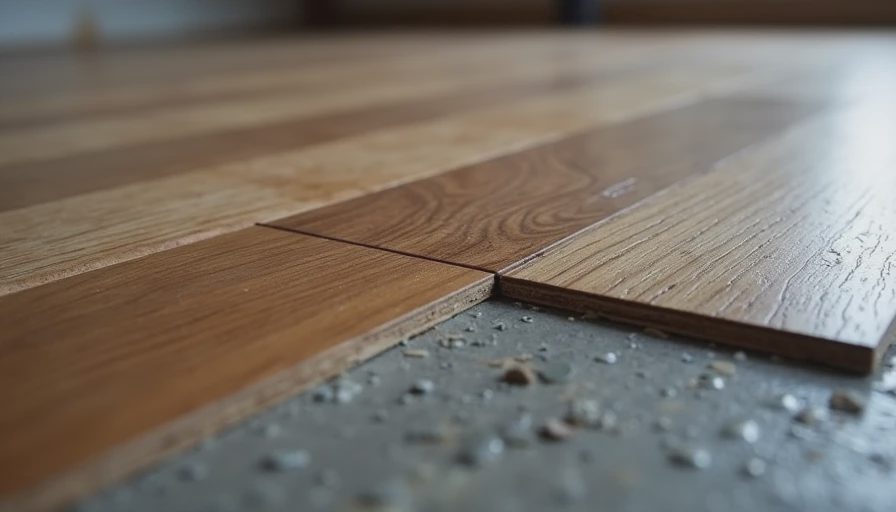
Why LVP Feels Like Magic (Until It Isn’t)
When I first started installing LVP, I thought it was going to solve every problem. Waterproof, affordable, easy to install, looks like hardwood. Homeowners loved it. Contractors loved the margins. What’s not to like?
Then year three hits. And year five. And suddenly I’m back on the same job fixing issues that could have been prevented. I’ve installed LVP over concrete slabs in basements, kitchens, and entire first floors across Missouri and Illinois. Some jobs still look great years later. Others… not so much.
Today I’m pulling back the curtain on the three things nobody tells you before you click “buy now” on that big box of floating floors.
Floors take a beating every day. Don’t let them beat your budget too.
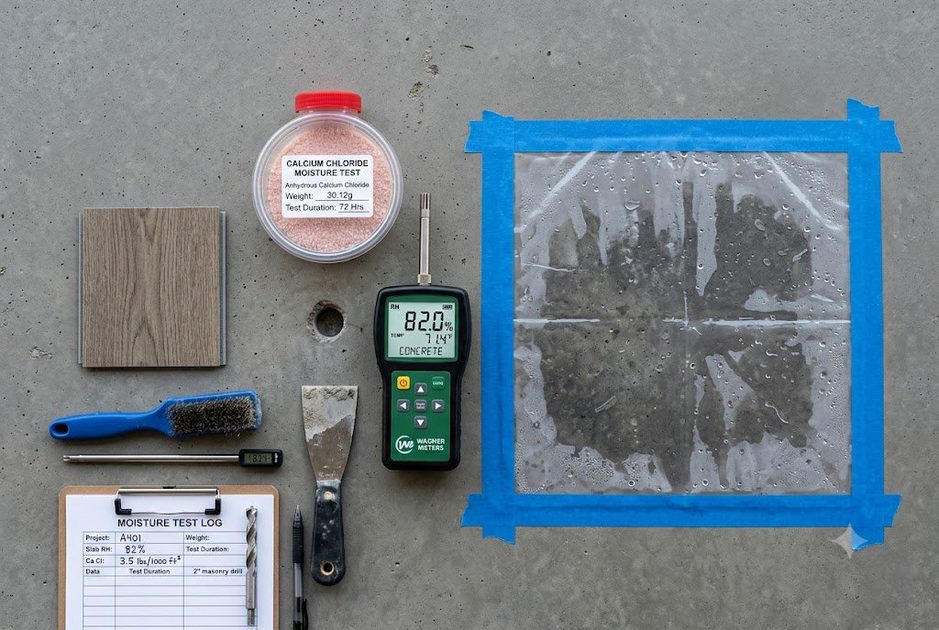
Thing #1: Your Slab Is Probably Wetter Than You Think
Concrete looks dry. It feels dry. But moisture is the silent killer of LVP installations.
I learned this the painful way on a finished basement job in 2018. The homeowner had waited six months after the concrete was poured. Everything tested “fine” with a basic plastic sheet test. We installed beautiful 7mm LVP with attached underlayment. Eighteen months later the edges started cupping badly near the exterior walls.
Turns out the slab still had high vapor emission. A proper calcium chloride test or relative humidity probe would have caught it. I now insist on real moisture testing before every slab job.
Rule of thumb I use on site: If relative humidity in the slab is over 75-80%, you need a proper vapor barrier or you’re rolling the dice. Many manufacturers say their LVP is “waterproof,” but that refers to the surface — not what happens when moisture pushes up from below for years.
Thing #2: Not All LVP Is Created Equal — Thickness and Core Matter More Than the Pretty Picture
The sales guy shows you a gorgeous sample that looks like wide-plank oak. Feels substantial in your hand. Then you get the box home and discover it’s 5mm or 6mm total thickness with a thin wear layer.
I’ve installed everything from 4mm cheap stuff to 12mm premium products with thick cores. The difference shows up fast in high-traffic areas.
What I Look For Now:
Minimum 8mm total thickness for most residential applications on slabs
At least 20 mil wear layer (30+ mil is better for busy homes)
Rigid core (not the flexible stuff that telegraphs every subfloor imperfection)
Proper click-lock system that actually stays locked
I did a kitchen install with thin LVP over a slightly uneven slab. Within two years the planks were peaking at the joints and the homeowner was frustrated. The more expensive 12mm version with a better core on the next job is still holding up beautifully four years later.
Thing #3: Installation Details Will Make or Break Your Floor — Especially on Concrete
LVP is marketed as DIY-friendly. And it can be. But concrete slabs introduce challenges that wood subfloors don’t.
Critical Prep Steps Most People Skip:
Leveling the slab — even small dips or bumps will telegraph through
Expansion gaps — LVP still expands and contracts with temperature
Acclimation time — those boxes need to sit in the house for 48-72 hours minimum
Moisture barrier — especially important on slabs below grade
I once had to redo a job where the installer (not me, thankfully) didn’t leave proper expansion space around the perimeter. The floor buckled in the middle of summer when the AC was running hard. Not cheap to fix.
Pro tip from the job site: Use transition strips thoughtfully. The cheap plastic ones that come in the box look terrible after a year. Spend the extra on proper flush transitions or T-moldings that match your actual flooring.
Real Job Lessons From the Trenches
Last year I did a full-house LVP install over a slab that had some previous water history. We did everything right: proper testing, self-leveling compound where needed, premium 10mm LVP with 30 mil wear layer, quality underlayment. Two years later it still looks nearly perfect.
Compare that to the job I consulted on where the homeowner went with the cheapest big-box option and skipped the moisture test. They’re already talking about replacement in year three.
The difference wasn’t luck. It was paying attention to the things nobody highlights in the marketing.
When LVP on Slab Is Actually the Right Choice
Despite everything above, I still recommend LVP in many situations:
Basements with legitimate moisture concerns
Rental properties or homes with heavy traffic
Budget-conscious renos where appearance matters more than long-term heirloom value
Areas where true waterproof performance is needed
Just go in with eyes open. Buy thicker, better quality material. Do the prep work. Or hire someone who knows what they’re doing.
Practical Checklist Before You Buy LVP for a Slab
Test your concrete moisture levels properly
Budget for leveling if needed
Buy at least 8-12mm with good wear layer
Plan for proper acclimation and expansion
Consider professional installation for complicated layouts
Do these things and your LVP can last 10–15+ years looking good. Skip them and you might be frustrated in year three.
Final Thoughts From a Guy Who’s Installed It All
LVP has its place. It’s transformed what’s possible in basements and affordable renos. But it’s not magic. Understanding the hidden challenges — especially on concrete slabs — will save you headaches and money in the long run.
Next time you’re standing in that aisle comparing boxes, remember there’s more to the story than the pretty picture on the packaging. Ask the right questions. Do the right prep. Your floors will thank you.
Floors take a beating every day. Don’t let them beat your budget too.
Travellers Write
No letters yet — be the first traveller to write.