I've installed tile corner trim on more jobs than I can count, and I still see homeowners skip it. Here's why that's a mistake. When you cut a tile to the edge of a wall or counter, that exposed cut edge is the weakest point on the whole installation. One bump from a vacuum cleaner or a dropped pan and you're looking at a chipped corner that ruins the look and invites moisture behind the tile. Tile corner trim solves that. It's a simple strip—metal, plastic, or stone—that covers the cut edge and creates a clean, finished corner. Over the years, I've seen too many DIYers try to avoid the cost of trim—maybe $20–$30 for a standard length—only to pay a pro $200 to replace a broken tile later. Don't be that person.
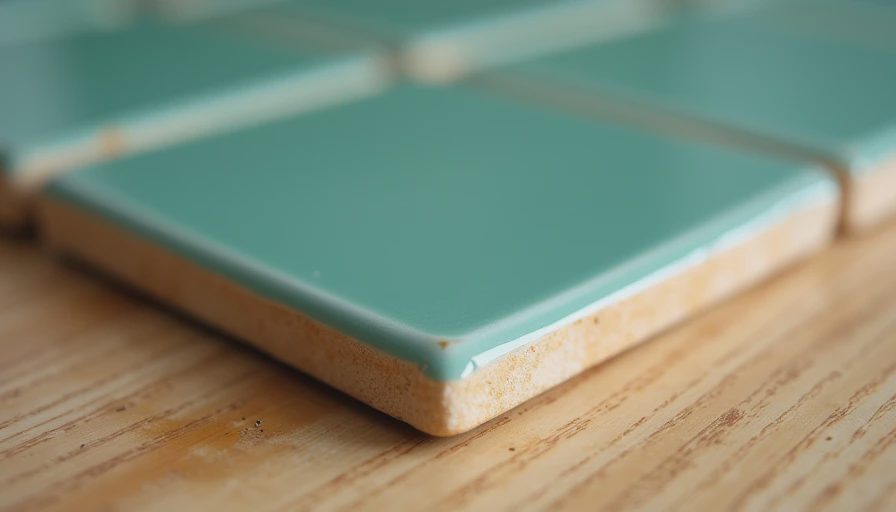
What Is Tile Corner Trim and Why Does It Matter?
Tile corner trim is a protective profile that covers the raw edge of a tile where it meets a corner. It comes in three main materials: metal (aluminum, brass, stainless), plastic (PVC), and stone (marble, travertine). Each has its place. Metal is the most durable and gives a sharp, modern look. Plastic is cheap and easy to cut with a utility knife, ideal for backsplashes or rental flips. Stone matches natural tile exactly but costs more. But the function is the same: tile corner trim absorbs impacts that would otherwise chip the tile. In a kitchen backsplash near the counter or a tub surround where elbows hit, that trim can save you a repair that runs $200–$500. Don't skip it just to save a few bucks.
Choosing the Right Tile Corner Trim for Your Project
Before you buy, measure the tile thickness. Most common are 3/8 inch and 1/2 inch. Your tile corner trim must match that thickness, or it won't sit flush. If the trim is too small, the tile won't fit behind it; too big, and you'll have a gap that collects grout and looks sloppy. Also think about color and finish. For a white subway tile, a white aluminum trim blends in. For a dark porcelain, a brushed nickel or oil-rubbed bronze trim can become a design accent. Plastic trim is the cheapest but can yellow in sunlight over 5–10 years. Metal is worth the extra $10–$15 per length. I've used Schluter brand trim on half my jobs—reliable and available at any tile supplier.

How to Install Tile Corner Trim: Step by Step
Installing tile corner trim isn't hard, but it takes patience. Here's the method I use.
First, measure the corner length and cut the trim. Use a hacksaw for metal or a utility knife for PVC. Cut slightly long—you can always fine-tune it. Then apply thinset to the wall or backer board with a 1/4-inch notch trowel. Set the first tile against the corner, leaving a small gap for the trim's flange. Next, press the tile corner trim into the thinset so its flange sits under the tile edge. The trim's lip should be flush with the tile face. Then set the adjoining tile, ensuring it butts firmly against the trim. Use spacers to keep the gap even. Let it set overnight, then grout as usual. The grout fills the space around the trim, locking it in place. One tip: use a flexible caulk at interior corners where two trims meet, not grout, to prevent cracking from building movement.
Common Installation Mistakes to Avoid
I've fixed plenty of botched tile corner trim jobs. The number one mistake is cutting the trim too short. Even a 1/8-inch gap at the end looks amateurish and lets moisture in. Always cut to the exact length, and if you're unsure, cut a little long and file the end down. Another common error is using the wrong thinset. For metal trim, use a modified thinset with latex—the bond is stronger. A third mistake is forgetting to account for expansion. In a long run of tile corner trim, leave a 1/16-inch gap every 8 feet, especially in sunlit areas or over radiant heat. And don't force the grout into the gap behind the trim—that's a recipe for cracking. Pack it in, but don't overfill.
Frequently Asked Questions About Corner Protection
Do I need a protective profile for every outside corner?
Not always, but if the corner is in a high-traffic area or near water, it's worth the investment. A quality trim prevents chipping and moisture intrusion.
Can I use metal edging with ceramic tile?
Yes, metal edging works with any tile type as long as the thickness matches. Schluter offers profiles for 3/8-inch and 1/2-inch tile.
How do I measure for corner trim?
Measure the length of the corner from top to bottom, then add about 1/16 inch for a snug fit. Cut the profile with a hacksaw for a clean edge.
Is it better to use bullnose tile instead of trim?
Bullnose tile looks seamless but costs more and may not match your tile exactly. Trim is often easier to install and cheaper.
Final Thoughts
Tile corner trim is a small investment that pays off big. I've installed it on bathrooms, kitchens, and even a whole fireplace surround. The cost per project is under $50, but it saves you from costly repairs and keeps your tile looking pro for years. If you're tiling a corner, don't skip the trim. Your future self—and your bank account—will thank you.
TL;DR: Spend $30 on tile corner trim now, or spend $300 on a tile repair later. I know which one I'd pick.


Travellers Write
No letters yet — be the first traveller to write.