The one thing homeowners get wrong about subfloor screws is assuming any screw from the garage will do the job. It will not. The wrong fastener can strip out, snap, rust, or punch through the finished floor above. Used correctly, subfloor screws are one of the cheapest ways to quiet a squeaky floor and tighten up a soft, bouncy spot. Used carelessly, they can create a new repair that costs more than the original problem.
I spent 18 years installing hardwood, tile, carpet, and vinyl over every kind of subfloor a builder could leave behind. Most squeaks were not mysterious. The plywood had pulled away from the joist, a seam was rubbing, or somebody had used too few nails during construction. Before you tear out a kitchen floor or resign yourself to hearing that hallway complain every morning, find out what is moving and fasten that movement properly.
What subfloor screws actually do
A subfloor is the structural sheet material attached over floor joists. It is commonly plywood or oriented strand board, often called OSB. The finished floor sits above it, sometimes with underlayment between the two. When the subfloor is not tight against the joists, walking causes the panel to flex or rub. That movement produces a squeak, a soft sensation, or both.
Subfloor screws pull the panel tight against the framing. That is the important part. They are not simply replacing nails because screws look stronger. The threads grip the joist and draw the plywood down, while the head holds the panel surface. A screw that is too short will not hold. One that is too long can hit wiring, plumbing, or the finished floor.
For most plywood-to-wood-joist repairs, I reach for coated construction screws or purpose-made flooring screws. A 1 5/8-inch screw is common for 3/4-inch plywood when fastening into a joist, but the correct length depends on the panel thickness and what is below it. You want solid penetration into the joist without turning the underside of the floor into a hardware display.
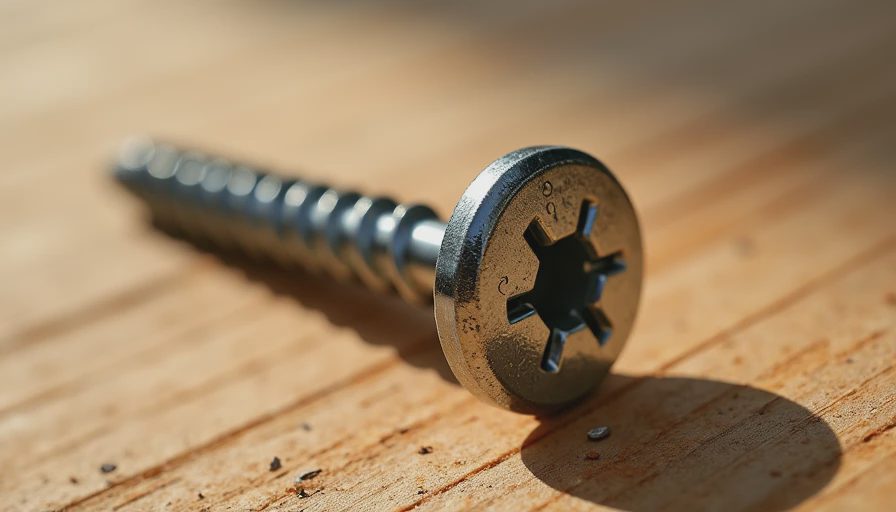
Choosing the right fastener
Buy screws made for structural construction, not drywall screws. Drywall screws are brittle and have a bugle-shaped head designed for gypsum board. They can snap under floor movement and their heads do not always seat cleanly in plywood. That is a bad combination beneath tile or a rigid wood floor.
Look for a flat or washer-style head, corrosion-resistant coating, and a published structural rating when the manufacturer provides one. Deck screws can work for some repairs, but they are not automatically the best flooring fastener. Purpose-made subfloor screws often have threads designed to pull panels down and a head that resists sinking too deeply.
Brands such as Simpson Strong-Tie, GRK, SPAX, and Senco make construction or flooring fasteners suitable for different repair situations. I am less interested in the logo than the screw's length, diameter, head design, and intended material. A box costing $10 to $25 is usually enough for a room repair. Spending another $10 on the right fastener is cheaper than replacing cracked grout or chasing a squeak after the flooring is installed.
For plywood over wood framing, coarse threads generally bite well. For a second plywood layer, use a screw length that joins the layers without blindly driving into pipes or cables. If the floor is over concrete, ordinary wood screws are not the answer. That calls for a different fastening system, and many floating floors should not be screwed down at all.
How I locate the problem before drilling
Start by having someone walk slowly across the room while you stand below, if the area is accessible from a basement or crawl space. Mark every squeak with painter's tape. Watch the underside of the subfloor. A visible gap over a joist is a strong clue. If you cannot access below, use a stud finder carefully, measure from walls, and locate joists with a small exploratory hole in an area that will be covered by new flooring.
Do not fire screws randomly across the room. That is how people hit a water line and turn a $40 repair into a plumber's visit. Also inspect for bigger problems: water damage, delaminated plywood, insect damage, or a joist that is cracked or undersized. Screws can tighten a sound panel. They cannot restore rotten wood or correct a structural framing problem.
Where a seam crosses a joist, fasten both sides of the seam. Keep screws roughly 6 to 8 inches apart along a troublesome edge and about 8 to 12 inches apart through the field when extra fastening is needed. Those are practical repair spacings, not a substitute for an engineered framing plan. Stay back from panel edges enough to avoid splitting, and stagger rows where possible.
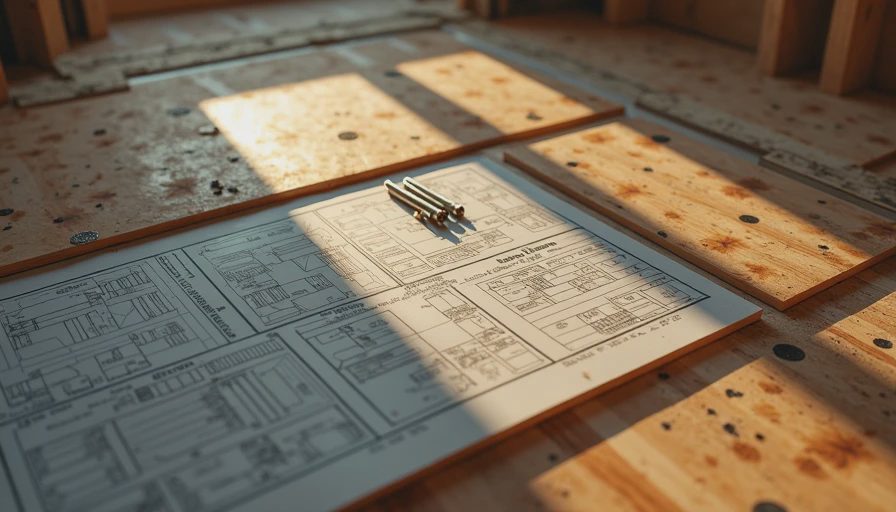
Installing subfloor screws without making things worse
If the finished floor is already removed, apply construction adhesive to the top of the joist before fastening a loose panel. Use a screw gun with an adjustable clutch, set the head flush with the plywood, and stop there. Do not bury the head an inch below the surface. An overdriven fastener weakens its grip and leaves a crater that can telegraph through thin flooring.
For a squeak beneath an existing carpet, access from below is often the cleanest route. A helper stands on the noisy area while you drive subfloor screws upward through a joist into the panel. Use a depth stop or mark the bit so the screw cannot travel too far. Never guess near a recessed light, plumbing run, electrical cable, or radiant heating system.
If you are working from above before installing tile, fill significant gaps and check the floor's flatness with a long straightedge. Tile does not forgive movement. A screw pattern can stop squeaks, but it will not flatten a hump or bridge a sag. Cement backer board also does not make a weak subfloor strong; it follows the structure underneath.
When screws are not enough
I once looked at a 1970s hallway where the homeowner had used nearly a full bucket of screws. The floor still moved because the plywood had been soaked from an old washing-machine leak and had lost its layers. More fasteners only made a damaged panel harder to remove. The correct repair was cutting out the bad section, adding blocking between joists, and installing new plywood. The materials cost roughly $180, while the labor would have been far more expensive after hardwood installation.
Replace subfloor material when it is swollen, soft, delaminated, mold-damaged, or too thin for the planned finish floor. A localized repair might cost $250 to $700 depending on access and the finished flooring. Replacing an entire 300-square-foot room can run well over $1,500 once demolition, disposal, blocking, and new flooring are included. That is why diagnosis matters before anyone starts swinging a pry bar.
A floor that feels bouncy may also have undersized joists, excessive span, or inadequate support. Subfloor screws will not fix those conditions. If a crack is appearing in several rooms, doors are sticking, or the floor has a noticeable slope, bring in a qualified contractor or structural professional rather than treating every symptom as a squeak.
A sensible repair plan for homeowners
First, identify whether the movement is at a seam, over a joist, or across the entire panel. Second, determine the subfloor thickness and what material lies beneath it. Third, choose construction-rated subfloor screws long enough to grip the framing but not long enough to create a hazard. Fourth, test a small area before fastening an entire room. Walk over the repair, listen, and check for a change in flatness.
If the test works, continue with a measured pattern and keep a record of where pipes and cables run. Vacuum the dust, fill damaged holes if necessary, and inspect again before covering the floor. For a floating laminate or luxury vinyl installation, do not screw through the finished product to cure movement; repair the substrate first and follow the flooring manufacturer's installation requirements.
The right repair can save an otherwise sound floor from demolition. On my own house, I have used this approach before laying new flooring in a room that had three annoying squeaks and one soft seam. A box of fasteners, a tube of adhesive, and an afternoon solved it. Floors take a beating every day. Don't let them beat your budget too.
TL;DR: Use structural fasteners, find the framing, repair damaged plywood instead of hiding it, and test before covering the floor.
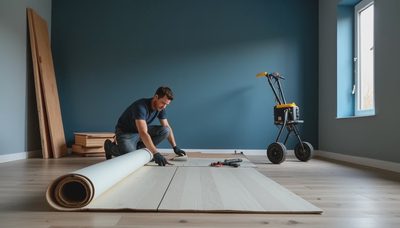

Travellers Write
No letters yet — be the first traveller to write.