The first thing homeowners get wrong about lifeproof flooring is assuming the name tells them everything they need to know. It is not indestructible, and it will not rescue a wavy subfloor, a sloppy layout, or a leaking dishwasher. It is a line of luxury vinyl plank sold through The Home Depot, and some versions are a sensible choice for kitchens, basements, laundry rooms, and busy hallways. Others are simply the cheapest way to make a bad floor look new for a few years.
I installed vinyl plank for years, including plenty of jobs where the homeowner had already bought the boxes. The material can perform well, but the installation details matter more than the label on the carton. A floor that costs $2.50 per square foot can still become a $6,000 mistake once removal, floor preparation, transitions, and trim enter the picture.
What lifeproof flooring actually is
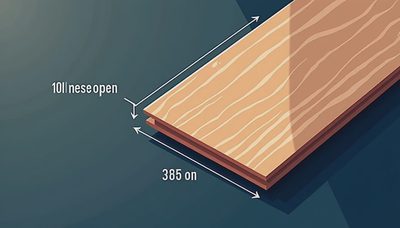
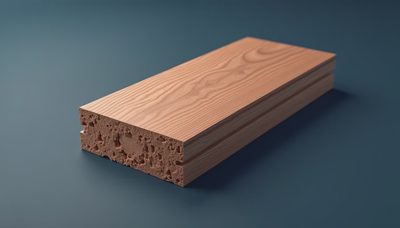
Lifeproof flooring is rigid-core luxury vinyl plank, commonly built with a waterproof vinyl surface, a printed wood-look layer, a rigid stone-plastic composite or similar core, and an attached underlayment on many products. It clicks together rather than being nailed or glued down. That makes it faster to install than hardwood and less messy than ceramic tile.
The waterproof part applies to the plank itself. It does not mean your entire floor assembly is protected from every plumbing problem. Water can still run through gaps at the perimeter, under baseboards, beneath appliances, or through an improperly sealed transition. If a refrigerator supply line leaks overnight, the planks may survive, but the subfloor underneath can still swell or grow mold.
The practical advantage is stability. Compared with inexpensive laminate, lifeproof flooring is less vulnerable to ordinary surface spills because the wear surface and core do not depend on a wood-fiber center. Compared with tile, it is warmer underfoot, quicker to install, and more forgiving when a coffee mug hits the floor. Compared with hardwood, it gives up repairability and some of the visual depth you get from real oak or hickory.
What it costs after the boxes leave the store
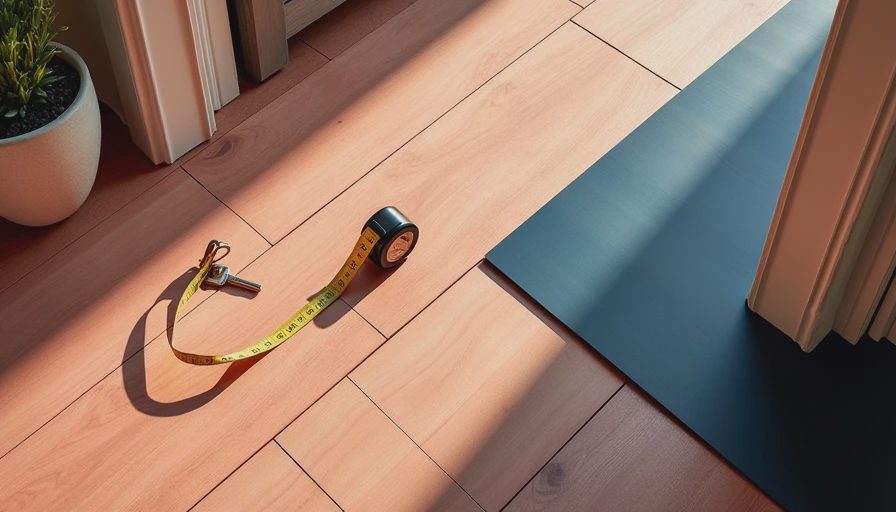
Material pricing commonly lands around $2.50 to $5 per square foot, depending on the collection, color, thickness, attached pad, and current promotion. A 1,000-square-foot order might therefore cost $2,500 to $5,000 before waste, trim, delivery, and labor. Add 10 percent for cuts and future repairs unless the room is an unusually simple rectangle.
Professional installation often adds roughly $2 to $4 per square foot. That range assumes the existing floor is reasonably flat, the furniture is manageable, and the baseboards do not need extensive repair. Removal of glued vinyl, sheet flooring, ceramic tile, or damaged laminate can add another $1 to $4 per square foot. Floor leveling can add $500 to several thousand dollars depending on how much compound, grinding, or subfloor replacement is required.
That puts a realistic installed price between $5,000 and $10,000 for a 1,000-square-foot project. I once priced a lower-cost plank job that looked like a $4,000 installation from the aisle. After pulling carpet, scraping adhesive, repairing particleboard, resetting doors, and replacing beat-up trim, it was closer to $7,200. The boxes were not the expensive part. The floor underneath was.
The subfloor decides whether the job succeeds
This is where lifeproof flooring earns or loses its reputation. Rigid plank does not bend gracefully over humps and dips. When the subfloor is uneven, the click joints flex every time you walk across them. Months later, you may hear popping, see separated seams, or feel movement under individual boards.
Before installation, remove the old baseboard and inspect the surface with a long straightedge. Manufacturers generally specify a tight flatness tolerance over a given distance, so follow the installation guide for the exact product rather than guessing. In practice, a floor that looks acceptable from standing height can still need patching.
Concrete may require moisture testing, crack repair, and a skim coat of patching compound. Wood subfloors may need screws driven into loose panels, replacement of swollen sections, or sanding at plywood seams. Do not use a thicker underlayment to hide serious problems. That can make the floor softer and place even more stress on the locking edges.
Leave the required expansion gap around walls, cabinets, pipes, and fixed objects. Cover that gap with baseboard or quarter-round instead of jamming planks tight against the wall. A floating floor needs room to move slightly as temperature and humidity change.
Where lifeproof flooring works best
Lifeproof flooring makes sense when you need a practical floor quickly and do not want the cold, hard feel of tile. I like it in a basement with a dry concrete slab, a rental property where easy cleaning matters, or a family hallway that sees wet shoes, dog claws, and muddy sports equipment. It is also a reasonable bridge solution when you are not ready to spend hardwood money but need something cleaner than worn carpet.
Choose a style with a convincing texture and a wear layer suited to the traffic. A wider plank can make a small room feel less chopped up, but it also shows subfloor irregularities more clearly. Shorter boards and aggressive repeating patterns can make a large room look like a showroom display rather than a finished home.
In my own house, I would rather install a mid-grade lifeproof flooring product over a properly prepared surface than a premium plank over an uneven one. The second option has a nicer sample, but the first one has a better chance of still feeling solid five years from now.

Where it falls short
The biggest weakness of lifeproof flooring is that damage is usually permanent at the individual plank level. You can replace a board, but it may require disassembling a row from the nearest wall or carefully cutting and gluing a replacement. Matching a product purchased several years earlier can also be difficult if the color has been discontinued.
Sunlight is another concern. Strong, direct exposure can fade or shift the appearance of vinyl over time, especially near large south-facing windows. Use shades or window film where appropriate, and do not assume waterproof means heatproof. Radiant heat, heavy appliances, and rubber-backed mats can have product-specific limitations.
The floor can also sound hollow if installed over a concrete slab without proper preparation. That is not always a structural problem, but it is an annoyance you will hear every evening when someone walks through the kitchen. Cheap plank with a thin wear layer may show scratches, gouges, and glossy traffic paths faster than its sample suggests.
Installation mistakes that cost real money
One common mistake is starting before checking door clearances. If the new floor is thicker than the old material, doors may scrape and appliances may no longer slide back into place. Another is forgetting the transition between rooms. A clean plan for stair noses, reducers, and tile-to-plank transitions prevents the last day of work from turning into a hardware-store scavenger hunt.
Do not run a floating floor under cabinets or permanent islands unless the product instructions specifically allow it. Heavy fixed objects can restrict movement and contribute to joint failure. Do not trap the floor beneath a toilet flange, either; the flange should be properly positioned and the bathroom perimeter sealed according to the installation instructions.
If you hire an installer, ask whether the quote includes furniture moving, tear-out, floor prep, baseboard removal, transitions, toilet resets, and disposal. A low bid that excludes those items is not low. It is unfinished.
The honest buying decision
Buy lifeproof flooring when your priorities are water resistance, fast installation, straightforward cleaning, and a controlled budget. Spend more time comparing core construction, wear layer, texture, plank dimensions, and warranty language than staring at the color name. Take home several samples and view them in morning and evening light.
Choose tile when you need extreme hardness and do not mind a colder surface, or hardwood when you want a floor that can be sanded and renewed. For a valuable old house, refinishing existing oak can beat installing new vinyl both financially and visually. I have saved homeowners thousands by sanding what they thought had to be removed.
Before ordering, measure each room, add waste, photograph the existing floor, and get one installation quote that includes preparation. Then compare that complete number with the cost of alternatives. Floors take a beating every day. Don't let them beat your budget too.
TL;DR: Lifeproof flooring is a solid practical choice when the subfloor is flat and the installation is done right. Spend the money on preparation before chasing a fancier plank.
Travellers Write
No letters yet — be the first traveller to write.