The first mistake people make with bathroom flooring is shopping for color before checking what is underneath it. I have pulled up plenty of attractive floors that were installed over soft plywood, leaking toilets, or a subfloor that moved like a trampoline. Bathroom flooring has to handle water, bare feet, dropped shampoo bottles, and years of cleaning. Looks matter, but the floor has to survive the room first.
After 18 years installing floors, I have a clear favorite for most homeowners: porcelain tile over a properly prepared, waterproofed base. That does not mean tile is always the right answer. A small hall bath, a rental, or a bathroom with a shaky structure can make quality luxury vinyl tile the smarter financial choice. The cheapest material is not automatically the cheapest project.
Start With the Subfloor, Not the Sample Board
Before choosing bathroom flooring, press your foot around the toilet, tub, and sink cabinet. Any bounce, soft spot, swollen edge, or dark staining deserves investigation. A toilet flange that sits too low, a slow leak at the tub, or plywood with delaminated layers will eventually telegraph through a new floor. Covering that damage is like painting over a roof leak.
For a typical 60-square-foot bathroom, basic subfloor repairs might run $150 to $500 in materials and labor. Replacing rotten plywood around a toilet can push the total closer to $800 if the damage reaches framing. That sounds unpleasant, but it is still cheaper than installing a $2,000 surface and then removing it six months later. I once lost nearly a full day on a job because a homeowner wanted to save the subfloor. The replacement crew spent two days fixing the mistake.
The floor also needs to be flat, not merely level. Tile can tolerate a room that slopes slightly toward a wall, but it does not tolerate dips and humps. Large-format tile is especially unforgiving. A long tile bridges uneven areas, leaving corners unsupported and vulnerable to cracks. Vinyl is more forgiving structurally, but bumps and grout lines underneath can still show through.
Porcelain Tile Is the Workhorse
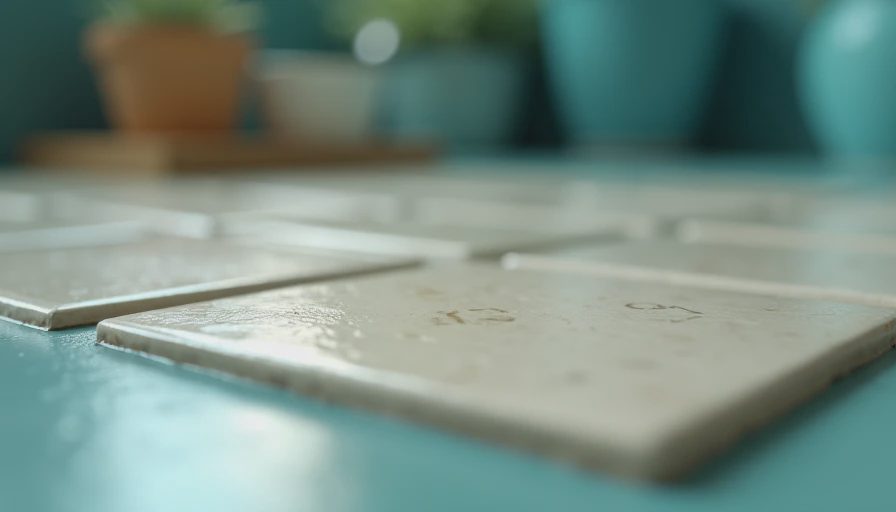
For durable bathroom flooring, porcelain tile is the workhorse I trust most. It is dense, water-resistant, easy to clean, and available in everything from plain 12-by-24-inch rectangles to wood-look planks. A mid-range porcelain tile often costs $3 to $8 per square foot, while professional installation commonly adds $8 to $18 per square foot depending on layout and preparation.
The tile itself is not the waterproofing. That distinction matters. Cement board, thinset, grout, and tile can all be installed correctly while water still reaches the framing through a failed shower connection or unsealed perimeter. In wet areas, I prefer a tested waterproofing system such as Schluter-KERDI or a comparable membrane, installed according to its instructions. The bathroom floor outside the shower still needs sound seams and carefully sealed penetrations.
Smaller tile gives you more grout joints, which helps create traction and makes it easier to follow a sloped shower floor. Larger tile gives a cleaner appearance and less grout to scrub. For a family bathroom, I usually choose a matte porcelain surface with moderate texture. Glossy tile looks sharp in a showroom and turns into a skating rink when a child walks out of the tub with wet feet.
When Luxury Vinyl Makes More Sense
Luxury vinyl tile and plank have earned a place in bathroom flooring discussions because they install quickly and feel warmer than ceramic under bare feet. Good products from brands such as COREtec, Karndean, and Lifeproof can work well in a dry bathroom when the room is prepared correctly. Material costs commonly land around $2 to $6 per square foot, with installation adding roughly $2 to $7.
The catch is that “waterproof” usually describes the product, not every part of the installation. Water can still get below floating planks through an open toilet cut, an unsealed tub edge, or a wall gap. I also do not install click-lock vinyl over a wavy floor and hope the joints sort themselves out. They will not. The seams flex, the locking edges loosen, and dirt begins collecting in places your mop cannot reach.
Vinyl is a sensible choice for a half bath, a basement bathroom with a stable slab, or a quick renovation where height changes are a problem. It is less appealing in a bathroom where standing water is common or where the owner wants a floor that can last several decades. A well-installed tile floor can still look right after 20 years. Vinyl is more likely to show wear, scratches, or edge damage sooner, especially around a toilet or vanity.
Stone, Ceramic, and the Materials I Skip
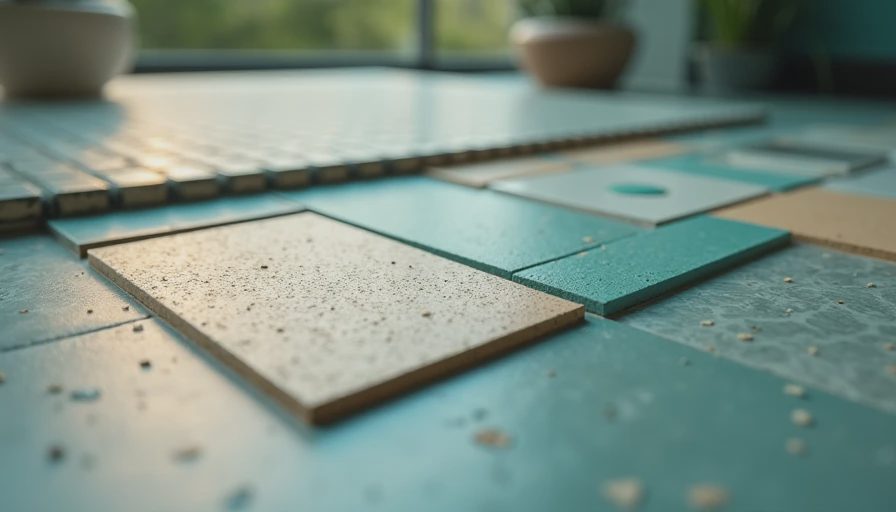
Natural stone can make beautiful bathroom flooring, but it is not a magic upgrade. Marble can stain and etch from ordinary cleaners, travertine needs regular sealing, and textured slate can be hard to clean. Stone also requires a stiff, well-prepared base. If your subfloor flexes, the stone will not forgive you. Installed costs often reach $15 to $30 per square foot, so a poor installation becomes an expensive lesson.
Ceramic tile is perfectly serviceable for many bathrooms and is often less expensive than porcelain. The difference is density and water absorption, not a simple quality ranking. For a dry floor outside the shower, quality ceramic can be a good buy. I avoid bargain-bin tile with inconsistent sizing, weak corners, or a surface so slick that it needs a warning label. Save money on the pattern before you save money on the tile itself.
I generally skip laminate in full bathrooms. Modern products are better than the old swollen-edge material, but repeated moisture at the toilet, tub, and vanity remains a bad combination. Solid hardwood is also a poor fit for most bathrooms unless you accept careful maintenance and occasional refinishing. The room has enough plumbing without adding a floor that wants to behave like furniture.
What the Real Budget Looks Like
A small bathroom can make a $300 material estimate look believable and a $2,000 invoice look shocking. The surface is only part of the work. Demolition, disposal, subfloor repair, leveling compound, waterproofing, trim removal, toilet reset, transitions, and a return visit can exceed the tile cost.
For 60 square feet, a straightforward vinyl replacement might total $1,000 to $2,000 installed. A porcelain tile project with membrane waterproofing, modest repairs, and a simple layout often lands around $2,000 to $4,000. Intricate patterns, heated floors, stone, or extensive rot can push that higher. Get the estimate broken into preparation, material, installation, and finish work. If the quote only says “install floor,” you are comparing guesses, not projects.
Heated bathroom flooring is a comfort upgrade I understand completely. An electric mat may add $500 to $1,500 installed in a small room, plus an electrician if a new circuit or thermostat work is needed. It will not fix a cold, poorly insulated room, but under tile it makes winter mornings considerably less miserable.
My Installation Checklist
Before ordering bathroom flooring, measure the room and add at least 10 percent for cuts and future repairs. More is sensible for a diagonal layout or a hexagon pattern. Remove the toilet rather than cutting a sloppy horseshoe around it. Confirm the finished height at the doorway so the bathroom does not become a toe-stubbing step into the hall.
Bring home samples and test them under bathroom lighting. A gray tile can look blue beside a white tub, while a warm beige can turn pink against certain paint. Set the sample near the vanity, shower, and doorway for a full day. Check whether the surface feels slippery when damp, whether the pattern repeats obviously, and whether the grout color will hide normal dirt.
If the room has active moisture damage, a questionable flange, or a floor that needs extensive leveling, hire a flooring contractor or remodeler. A careful DIYer can handle a simple vinyl install. Tile demands patience, proper mortar coverage, movement gaps, and a cutting plan. The internet makes demolition look easy because nobody films the two hours spent scraping adhesive from a corner.
The Bottom Line
For most houses, my choice is matte porcelain tile on a rigid, waterproofed, properly prepared base. Choose quality vinyl when speed, warmth, or a tight budget matters more than a decades-long service life. Spend money on preparation before decorative upgrades; a plain floor that stays dry beats an expensive floor over rotten plywood every time.
Floors take a beating every day. Don’t let them beat your budget too.
TL;DR: Fix the subfloor, choose matte porcelain for long-term durability, and use quality vinyl when the room and budget call for a faster, simpler install.
Travellers Write
No letters yet — be the first traveller to write.