The first thing people get wrong about cheap engineered flooring is assuming every low-priced box is a bargain. Some are perfectly serviceable boards that will give you a good-looking floor for years. Others are thin veneers glued to a weak core, with edges that chip before the refrigerator is back in place. I have installed both, and the difference usually shows up in the subfloor, the wear layer, and the installation plan—not in the photograph on the box.
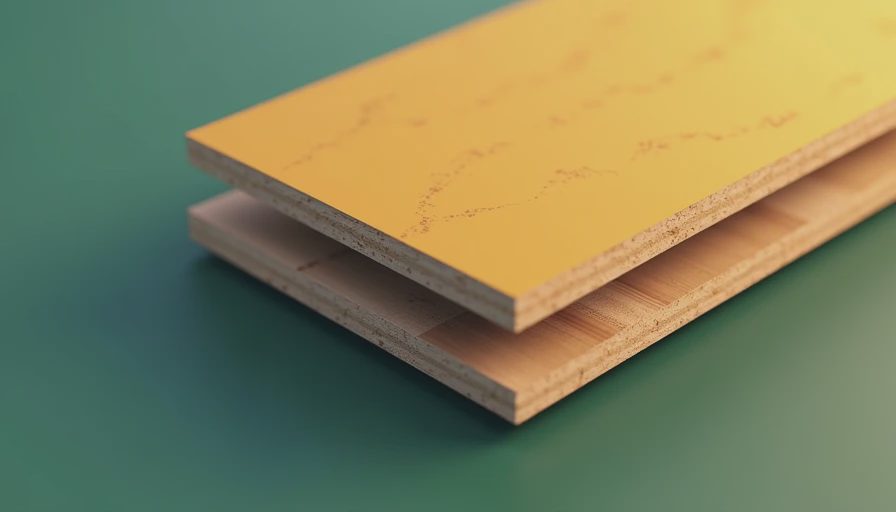
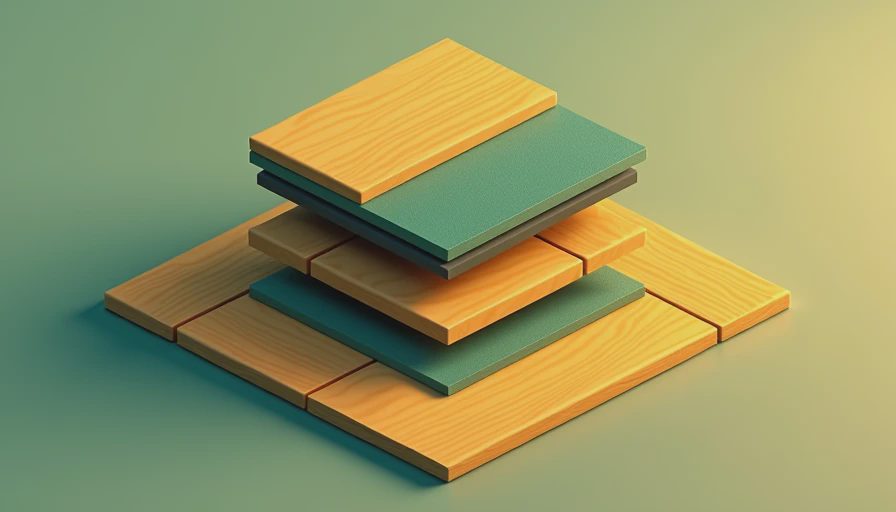
Engineered flooring is real wood on top of a layered plywood or composite core. That makes it more dimensionally stable than solid hardwood and a better choice for some basements, kitchens, and rooms with seasonal humidity swings. The budget version can work, but only when you buy it for the right room and prepare the floor underneath it properly.
What You Actually Get for the Money
Most cheap engineered flooring falls between $2 and $5 per square foot for material. The low end often has a wear layer around 1.5 to 2 millimeters, while better boards may carry a 3- to 4-millimeter oak, maple, or hickory layer. That number matters because it limits future sanding. A thin veneer is generally a clean-and-recoat floor, not something you should expect to sand several times like solid oak.
The core matters just as much. Look at the ends of sample boards. You want tightly bonded layers without obvious gaps, voids, or crumbly fiberboard. A seven-inch-wide plank with a weak core can cup or separate more readily than a narrower, better-built board. I would rather install a $3.75 board with a decent plywood core than a $2.25 board that looks impressive under store lighting and bends like a ruler made of crackers.
Cheap engineered flooring also tends to have more variation between lots. Buy enough material for the entire room, plus at least 10 percent waste, and mix boards from several cartons as you install. That prevents a light section from appearing next to a dark section halfway across the room.
Installed Cost Is the Number That Counts
Material price is only one line on the estimate. For a straightforward floating installation over a clean, flat subfloor, labor, underlayment, transitions, delivery, and removal can add $2.50 to $5 per square foot. Glue-down work usually costs more because the installer must spread adhesive evenly, manage open time, and clean joints before the glue cures. Nail-down installation can also climb when the subfloor needs plywood repairs.
A 500-square-foot living area might look like a $1,500 material project at first. Add $250 for waste, $350 to $700 for removal, $1,250 to $2,000 for installation, and another $150 to $400 for transitions and trim. Suddenly the sensible budget is closer to $3,500 or $4,500. That is still cheaper than premium hardwood, but the math keeps you from making a decision based on the carton price alone.
If you are replacing carpet over a sound plywood subfloor, cheap engineered flooring has a better chance of staying cheap. If you are tearing out glued vinyl, leveling plywood, correcting squeaks, and replacing water-damaged sections, the floor underneath becomes the project. No material can hide a bad base for long.
Where Budget Boards Make Sense
I like cheap engineered flooring in bedrooms, dining rooms, offices, and living rooms where furniture is moved carefully and standing water is uncommon. A floating floor can be practical in a renovation because it installs faster and can cover minor visual imperfections after the subfloor has been flattened. It also gives a homeowner the warmth and grain of wood without the price of wide-plank solid hardwood.
I am more cautious in a busy kitchen, rental property, entryway, or home with large dogs and muddy traffic. The finish on a low-cost board can scratch just as easily as an expensive board. The top layer may be real wood, but it is not automatically tougher. Put felt pads under chairs, use mats at exterior doors, and wipe spills instead of letting them sit at the seams.
For a basement, moisture testing is not optional. Engineered construction handles normal humidity changes better than solid wood, but it is not waterproof. A concrete slab that reads too damp can damage adhesive, swell a core, or create a mold problem below the floor. This is where saving $800 on material can become a very expensive shortcut.
Floating, Glue-Down, or Nail-Down?
A floating installation is usually the budget winner. Boards lock together over approved underlayment, and the floor is not fastened directly to the subfloor. It can be a good fit for a stable, reasonably flat surface, but the room needs proper expansion gaps around walls, cabinets, pipes, and door jambs. Skip those gaps and the floor may buckle when summer humidity arrives.
Glue-down installation gives a quieter, more solid feel underfoot and works over some concrete slabs. The adhesive alone can cost several hundred dollars in a medium room, and removing a failed glued floor is miserable work. I have spent full days scraping adhesive because somebody chose the cheapest glue or ignored moisture readings.
Nail-down installation feels familiar and can last a long time, but it demands the right subfloor thickness, fastener schedule, and board construction. Do not assume every engineered plank is approved for stapling. Read the installation instructions before buying, not after the first carton is open.
Brands, Samples, and the Carton Test
Stores commonly carry budget lines from brands such as Bruce, Mohawk, Lifeproof, and store-specific labels. The brand name is less important than the product specifications and return policy. Check the listed wear-layer thickness, core construction, plank dimensions, finish warranty, approved installation methods, and whether replacement cartons are available.
Bring home two or three samples and abuse them before committing. Drag a metal key across an inconspicuous section, leave a damp cloth on a seam overnight, and inspect the locking edge. This is not a laboratory test, but it tells you more than a staged display. Also stand the samples near your cabinets and trim. A gray-brown floor can look warm in the store and strangely purple under your kitchen lights.
Buy from a seller that will accept unopened cartons and ask about shade variation. Cheap engineered flooring is frustrating when a damaged board appears after the last carton has been installed and the product has already been discontinued.
The Installation Mistakes That Eat the Savings
The biggest mistake is installing over an uneven subfloor. Most manufacturers allow only a small amount of variation over a specified distance. Follow that requirement with a straightedge. High spots should be ground or sanded, while low spots may need a compatible patching compound. Do not use thicker underlayment to disguise serious waves; it can make the joints flex and separate.
The second mistake is skipping acclimation. Store the cartons in the conditioned room for the period required by the manufacturer, usually with the house temperature and humidity in the normal living range. Do not bring boards from a cold garage and install them immediately.
Finally, plan transitions before laying the first row. Flooring may meet tile, carpet, another wood floor, or a stair nose. A last-minute transition can leave a visible sliver or force an awkward cut. Measure door clearances too. A beautiful new floor that prevents a bathroom door from closing is not a bargain.
My Practical Buying Rule
I would spend a little more for a stronger core and a thicker wear layer before spending extra on an exotic color or wider plank. A basic natural oak in a sound construction usually ages better than a fashionable dark finish that shows every scratch. Keep a spare carton in a dry closet as well. Manufacturers change colors, and a future repair is easier when you already own the matching material.
For a 1,000-square-foot project, compare the full installed price of cheap engineered flooring with refinishing existing wood, installing midrange luxury vinyl plank, and buying a better engineered product. If old oak is hiding under carpet, refinishing can sometimes beat replacement. If the subfloor is rough and the room sees heavy water exposure, quality LVP may be the more honest choice. The cheapest material is not always the cheapest floor.
Floors take a beating every day. Don't let them beat your budget too. TL;DR: Buy budget engineered wood for the right room, inspect the core, fix the subfloor, and price the whole installation before you call it cheap.

Travellers Write
No letters yet — be the first traveller to write.