The first thing people get wrong about a checkerboard bathroom floor is assuming the pattern is the hard part. It is not. The hard part is getting a flat, dry, square surface underneath it, then laying two colors so every joint stays honest. A crooked room will expose sloppy tile work faster than a plain beige floor ever will. I have installed plenty of checkerboard floors, and the pattern can look terrific, but it is not forgiving.
A classic black-and-white checkerboard usually uses 12-by-12-inch or 8-by-8-inch square tile. Larger squares make a small bathroom feel calmer, while smaller tiles suit a powder room with an older-home character. Porcelain is my usual recommendation because it handles water, cleaning chemicals, and dropped hair dryers better than bargain ceramic. The material commonly runs $2 to $8 per square foot, with installation bringing a typical project to roughly $12 to $25 per square foot.
Choose the Tile Before You Choose the Pattern
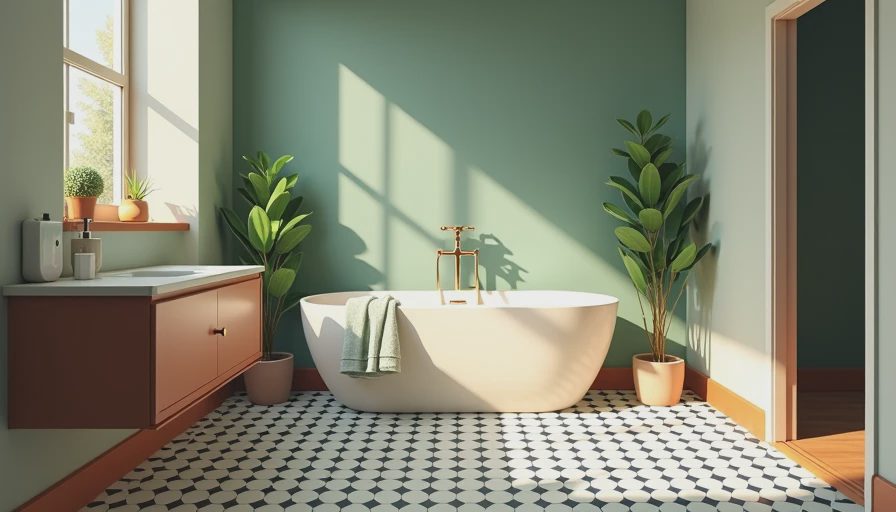
For a checkerboard bathroom floor, start with the actual tile samples, not a computer rendering. Two tiles that look black and white online can read as charcoal and cream under warm vanity bulbs. Put samples beside the bathtub, vanity, and door casing during both daylight and evening light. A glossy black tile shows every water spot; a matte or lightly textured surface is easier to live with and usually safer under wet feet.
I prefer through-body porcelain for busy bathrooms. If the surface chips, the damage is less obvious because the color continues through the tile. Rectified tile can create tight, modern grout lines, but it demands better installation and a flatter floor. Pressed-edge tile with a slightly wider joint is more forgiving in an older house. Plan on grout lines between 1/8 and 3/16 inch unless the manufacturer specifies otherwise.
Before buying, measure the room at its longest and widest points, then add at least 10 percent for cuts and breakage. Add more if the room has a closet, angled wall, or complicated plumbing. Black tile is not a license to hide mistakes. A chipped corner beside the toilet still catches your eye every morning.
Layout Matters More Than the Tile Price
The strongest checkerboard bathroom floor layouts usually center the pattern on the main sightline from the doorway. That does not always mean centering a tile. Sometimes centering the grid joint produces tiny slivers along both walls, while shifting the layout half a tile gives you balanced cuts. I dry-lay several rows without mortar and measure both sides before committing.
Do not begin against the most visible wall simply because it is convenient. Bathrooms are rarely square, especially in houses built before modern framing standards. Snap a control line through the room and use a second line at a right angle. A laser level helps, but a chalk line, framing square, and careful measurements can get the job done.
The checkerboard bathroom floor should look intentional around the toilet flange and vanity. If a narrow cut lands directly at the doorway, adjust the whole grid before spreading thinset. The door threshold is the transition people notice first, and a half-inch sliver there makes an otherwise good job look like an afterthought.
For a 50-square-foot bathroom, material might total $180 to $450 for midrange porcelain, mortar, grout, backer board, and related supplies. Demolition, disposal, subfloor repairs, and trim are separate costs. I have seen a simple-looking room climb from a $1,000 tile estimate to $2,400 after we found soft plywood around the toilet. Water damage does not care whether your floor pattern is fashionable.
Prep Is Where the Budget Gets Saved or Lost
Remove the toilet, baseboards, and old flooring before judging the subfloor. Tile needs a stiff, stable base. If the floor flexes when you walk across it, grout can crack and tile can loosen no matter how carefully the pattern was installed. Check for swollen plywood, loose fasteners, stains, and dark areas near the tub or toilet.
Minor unevenness can be corrected with a suitable patching compound or self-leveling underlayment. Major movement may require sistering joists or replacing damaged plywood. Cement backer board or an approved uncoupling membrane creates a proper tile surface, but neither one fixes a weak structure underneath. That distinction has cost more than one homeowner an avoidable redo.
In a small bathroom, do not skip waterproofing at the tub or shower edge. The main floor is not a shower pan, but splash zones and plumbing penetrations still deserve attention. Follow the membrane and thinset manufacturer’s instructions rather than mixing products casually from three different systems.
Installation Details That Make the Pattern Look Sharp
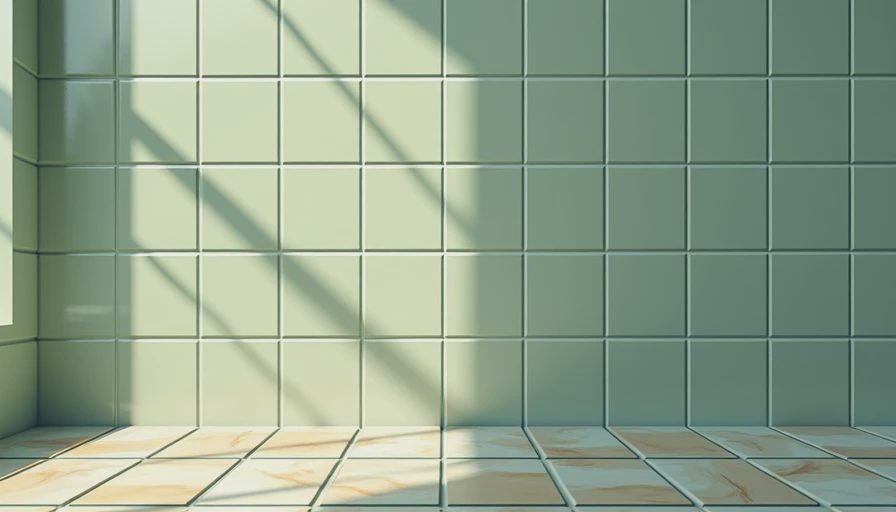
Spread thinset with the trowel size recommended for your tile, and comb it in one direction. Set each piece with a slight sliding motion to collapse the ridges. Check coverage by lifting an occasional tile. Bathroom floors need solid support, especially near the toilet, vanity, and doorway.
Use spacers consistently, even if the tile has built-in lugs. Wipe mortar from the joints before it hardens. Once the floor is set, let it cure according to the product instructions before grouting. Rushing this stage is how tiles shift and checkerboard lines begin wandering across the room.
Choose grout color with maintenance in mind. Bright white grout beside black tile is dramatic but requires regular cleaning. A medium gray grout softens the contrast and disguises ordinary dust. Unsanded grout is generally used for narrow joints, while sanded grout suits wider joints, but always follow the tile and grout manufacturer’s guidance. Seal cement-based grout after it cures if the product calls for it; sealer does not make grout stain-proof, but it gives you more working time when spills occur.
DIY or Hire a Tile Installer?
A confident DIYer can handle a small checkerboard bathroom floor if the subfloor is sound, the room is uncomplicated, and the homeowner has time to work slowly. The tools are not outrageous: tile saw rental may run $50 to $100 for a weekend, while a quality wet saw purchase can cost several hundred dollars. Add a mixing paddle, trowels, spacers, kneepads, and a diamond blade.
Hire a pro when the floor has water damage, the room is badly out of square, the tile is expensive, or the shower waterproofing connects to the project. A professional installation often costs $600 to $1,500 in labor for a small bathroom, depending on demolition and repairs. That can sound painful until you compare it with removing failed tile two years later and paying for the same labor twice.
If you get estimates, ask whether they include toilet removal, disposal, floor flattening, backer board, grout, sealing, baseboards, and the transition at the doorway. A low quote that excludes half the work is not a low quote. It is an invoice with delayed surprises.
My Bottom Line on the Pattern
A checkerboard bathroom floor is worth installing when the room can support a strong visual statement and the base is solid. It works in a 1920s bungalow, a plain builder-grade bath, or a modern renovation, but the scale should match the room. Eight-inch tile often feels lively in a powder room; twelve-inch tile keeps a larger bathroom from looking busy.
My own house has a small black-and-white floor that has survived muddy shoes, bath toys, and one spectacular bottle of shampoo hitting the ground. The tile is not magic. It has held up because the subfloor was prepared correctly and the grout was given time to cure. Spend money on prep before chasing premium tile. Floors take a beating every day. Don't let them beat your budget too.
TL;DR: Build the checkerboard bathroom floor on a stiff, flat base, center the layout on the doorway, and hire a pro when water damage or structural repairs enter the picture.

Travellers Write
No letters yet — be the first traveller to write.