The first mistake people make when learning how to clean terracotta tiles is treating them like glazed ceramic. Terracotta is fired clay, and its open pores absorb water, grease, wine, and whatever your muddy boots carry in. Scrub it aggressively with the wrong cleaner and you can turn a dull floor into a blotchy, permanently marked floor. I have repaired enough of these to know that patience is cheaper than replacement.
The good news is that most tired terracotta can be cleaned without tearing it out. You need a vacuum, a soft brush or microfiber mop, a neutral-pH cleaner, clean water, and time for the floor to dry properly. If the tiles have a waxy buildup, deep oil stains, crumbling grout, or a failing sealer, the job becomes more involved, but it still does not automatically mean demolition.
Start by identifying the finish and the dirt
Before deciding how to clean terracotta tiles, look closely at the surface in daylight. Traditional terracotta is usually matte, uneven, and slightly rough. A sealed floor may have a soft sheen, while a waxed floor can look glossy and feel tacky under a shoe. Try a few drops of water in an inconspicuous corner. If the water darkens the tile and sinks in quickly, the surface is porous or the sealer is gone. If it beads for several minutes, some protection remains.
The type of dirt matters. Loose sand scratches terracotta when dragged across it, so vacuum first with a hard-floor attachment. Grease near a range needs a cleaner that can break down oil, while white crust along the edges may be mineral residue from water or old cleaning products. Do not begin with bleach, ammonia, vinegar, or a bathroom descaler. Acidic and highly alkaline products can etch the clay, weaken grout, or leave a pale haze that is harder to remove than the original dirt.
For a normal kitchen or entryway, dry cleaning does more work than most homeowners expect. Vacuum corners, sweep under appliances, and use a soft hand brush around grout lines. A $15 microfiber mop can prevent the sandpaper effect that a stiff broom creates.
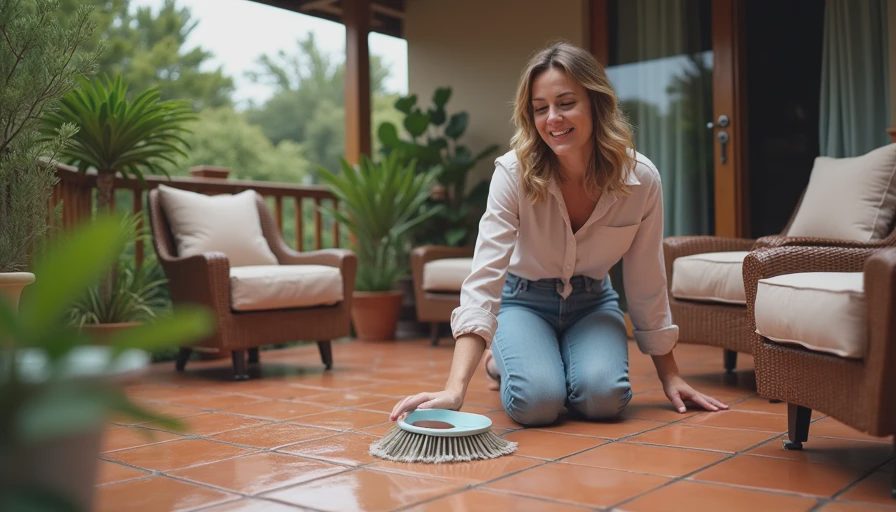
How to clean terracotta tiles safely, step by step
Mix a small amount of neutral-pH tile cleaner in warm water according to the label. Products from brands such as Bona, Zep, or Aqua Mix have different strengths, so more concentrate is not automatically better. Too much soap leaves a film that attracts fresh dirt. Plain warm water is acceptable for light dust, but it will not remove kitchen grease.
Work in an area of about 10 to 15 square feet. Apply the solution with a damp mop or sponge, not a soaking-wet one. Let it sit for three to five minutes so it can loosen soil, then agitate gently with a nylon brush. A soft toothbrush handles grout and the uneven edges of handmade tiles. Avoid steel wool, abrasive powders, and drill brushes; those tools can scratch the surface and make the color uneven.
Pick up the dirty water with a clean microfiber mop or wet vacuum. Then rinse with fresh water and remove that water immediately. Leaving dirty solution to dry in the pores is how dark rings and streaks appear. Change the rinse water often. On a 200-square-foot floor, I would rather spend an extra 20 minutes changing buckets than spend a weekend correcting a cloudy residue.
Let the floor dry for at least 24 hours with ventilation. Do not judge the result while the tile is wet. Terracotta often looks dramatically darker during cleaning and settles into its normal color as moisture leaves.
Removing stains without making a bigger one
For grease, begin with the neutral cleaner and repeated gentle passes. If that fails, use a terracotta-safe alkaline degreaser in a hidden spot first. Apply it only to the affected area, keep the dwell time short, rinse thoroughly, and allow the tile to dry. Commercial poultices can draw oil from porous clay, but they require careful application and several hours of drying. A poultice is usually smarter than scrubbing harder.
White mineral deposits need a different approach. I would not pour vinegar over an old terracotta floor because the acid can attack the clay and grout. Try warm water, a plastic scraper, and a terracotta cleaner designed for mineral residue. If a white mark is actually efflorescence coming through the grout or slab, cleaning the surface will not solve the moisture source. That is a repair issue, not a mopping issue.
Paint splatters should be lifted with a plastic scraper after softening the edge, never with a razor held flat against the tile. For candle wax, let it harden, lift what you can, and use gentle warmth from a hair dryer while blotting. A heat gun is too aggressive for a porous floor and can darken old sealer.
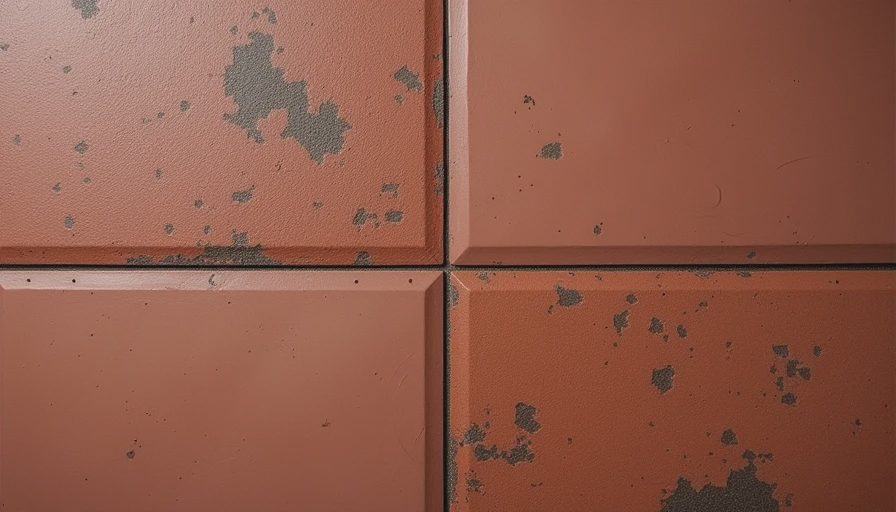
Sealing terracotta after cleaning
Cleaning is only half the job. Once the floor is completely dry, decide whether it needs a new sealer. A penetrating sealer soaks into the pores and generally preserves a natural appearance. A topical sealer sits on top and can add sheen, but it is more likely to scratch, peel, or show traffic lanes. In a busy kitchen, I usually prefer a quality penetrating product unless the homeowner specifically wants a polished look.
Test the sealer in a closet or behind an appliance. Some products deepen the orange or red color considerably. Follow the coverage rate and cure time on the label; a gallon covering 400 square feet on one product may cover far less on thirsty handmade tile. Apply thin, even coats and remove puddles before they dry. Trapped sealer in texture or grout joints can leave shiny spots that are difficult to strip.
Keep furniture and rugs off the floor until the sealer has cured. That may be 24 to 72 hours depending on the product, temperature, and humidity. Do not use wax immediately after sealing. Wax can create a maintenance layer that holds grit and makes future cleaning a stripping project.
When cleaning is not enough
Some floors are past the point where a homeowner's mop can rescue them. If terracotta is cracked, hollow-sounding, loose, or visibly spalling, cleaning will only expose the larger problem. A floor with thick black wax, multiple failed coatings, or years of embedded grease may need mechanical stripping by a tile restoration professional. Expect roughly $3 to $8 per square foot for a serious cleaning and resealing job in many markets, with complicated restoration costing more.
Replacement is not automatically cheaper. Removing 150 square feet of tile, hauling debris, repairing the substrate, buying new material, and paying for installation can easily run several thousand dollars. If the tiles are sound and the layout works, restoration often protects the budget and keeps the character that new machine-made tile cannot duplicate. Get a test patch before approving a whole-room quote.
For regular care, vacuum weekly, mop with a properly diluted neutral cleaner when needed, wipe spills quickly, and place absorbent mats at exterior doors. Never let grit build up in the entryway. Recheck the water-drop test every year or two, especially in kitchens and mudrooms. Recoat only when the existing sealer is clean and compatible with the new product.
The bottom line
Learning how to clean terracotta tiles is mostly about using less force, less water, and better timing. Remove grit first, clean small sections, rinse completely, dry the clay, and seal only after testing. If the floor is structurally sound, I would clean and restore it before I would spend thousands replacing it. Floors take a beating every day. Don't let them beat your budget too.
TL;DR: Clean terracotta gently, let it dry fully, seal it intelligently, and test a small patch before committing the whole floor.


Travellers Write
No letters yet — be the first traveller to write.